Picture this:
Your customers bury you with messages. Emails, chat pings, social media shouts, and even the odd fax or two… All demanding immediate attention.
Your inbox is a battlefield, your keyboard is the weapon of choice, and every new notification is a call to arms.
Wouldn’t it be nice to have an extra pair of hands to handle it all?
Well, if you use Intercom, you can leverage the Quickchat AI integration to create a chatbot that’s capable of handling thousands of conversations at the same time.
In fact, if you’re looking for robust Intercom chatbot customization options (both in terms of the widget design and the actual style of AI’s responses), and you rather not pay 1$ for a resolved support case… Keep reading.
Or keep watching, if that’s what you prefer!
How to integrate Intercom with Quickchat AI
Let’s start by creating a new Teammate that’s actually going to be your AI Assistant, ready to answer your customers’ questions through Intercom’s Messenger:
1. Add a Teammate AKA your new AI Agent
Let’s navigate right away to the Settings and then to the Teammates section to add a new Teammate.

Hint: It’s best to create and use a dedicated email address that this new Teammate can use. I did it before, so I’ll just put it right here and click Click and set permissions button.

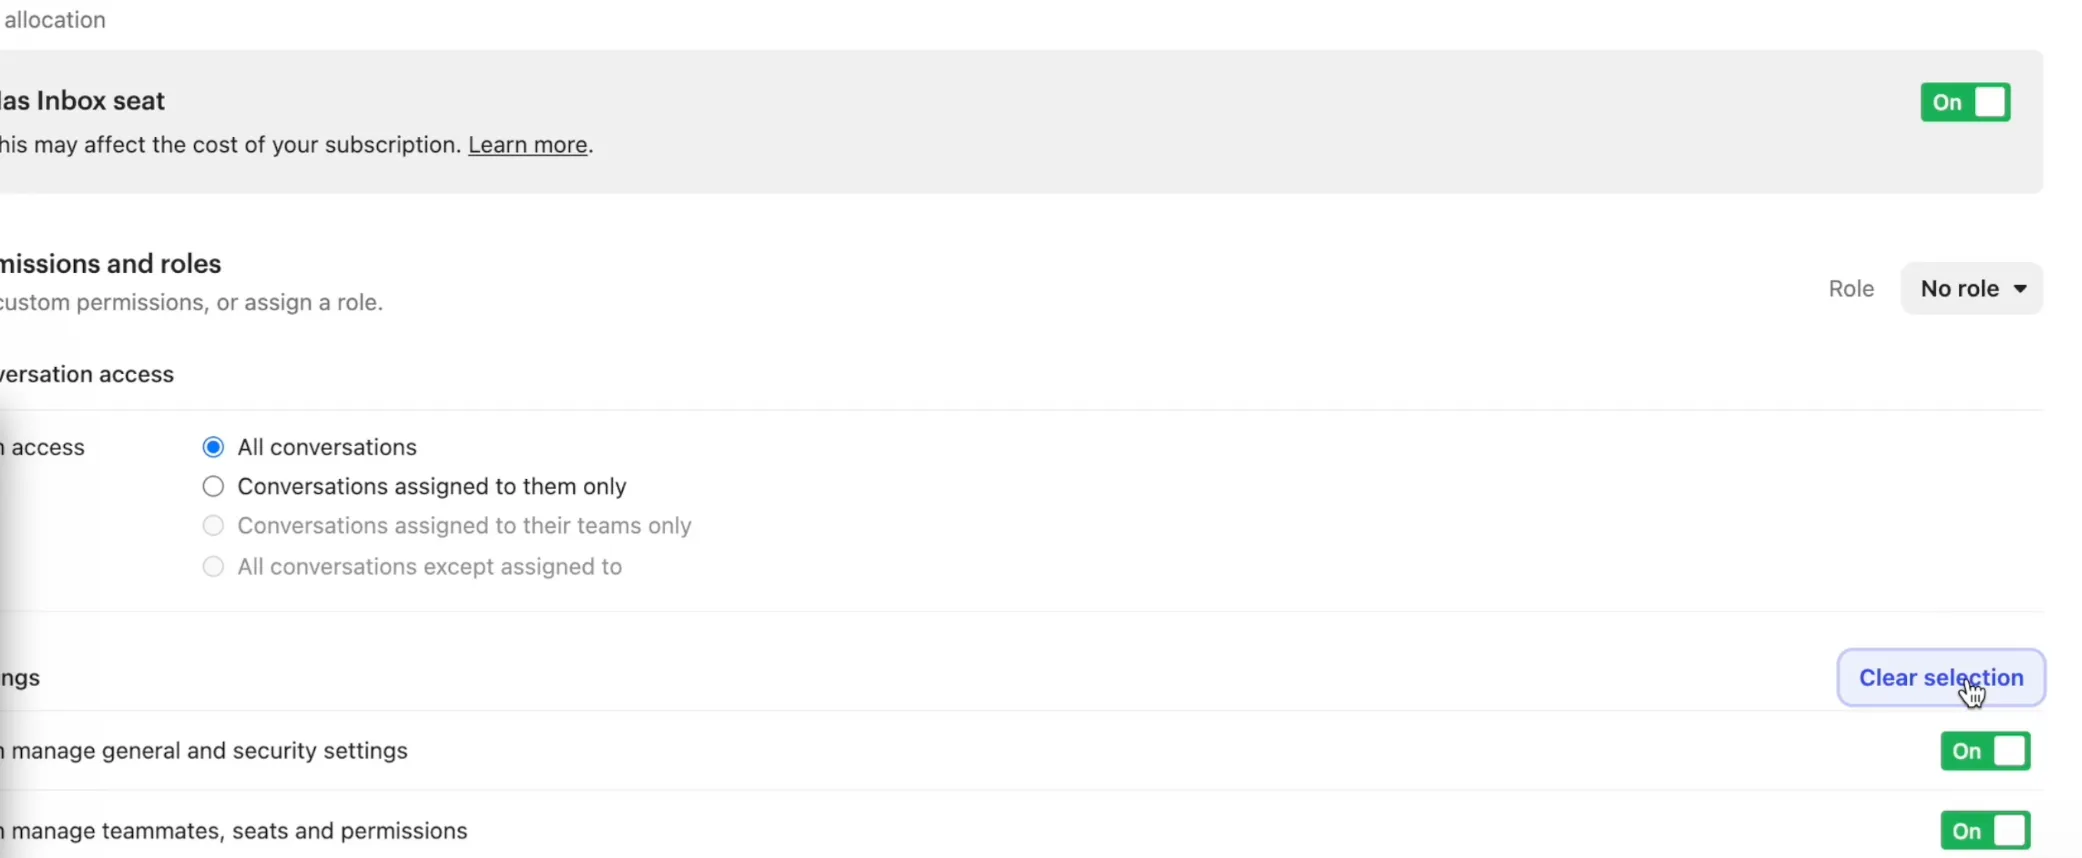
Now, I should enable the Inbox seat and relevant permissions — I’ll select all of them — and send an invite to this fancy new team member.
I’ll log out from the account that I’m currently logged in to Intercom. I can now accept the invite sent to the AI Agent’s email address and log in with that account.
2. Create a Workflow that assigns every new conversation to the AI Agent
Ok, so I’ve successfully logged in with the AI Agent’s dedicated email and I’m going to set up a simple automation that’s necessary for the Intercom integration to work.
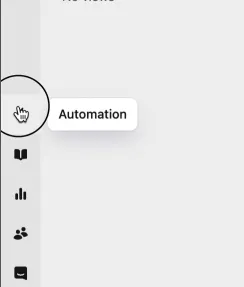
Time to click the lightning bolt sign on the left sidebar (Automation).
I’m going to Create it from scratch…

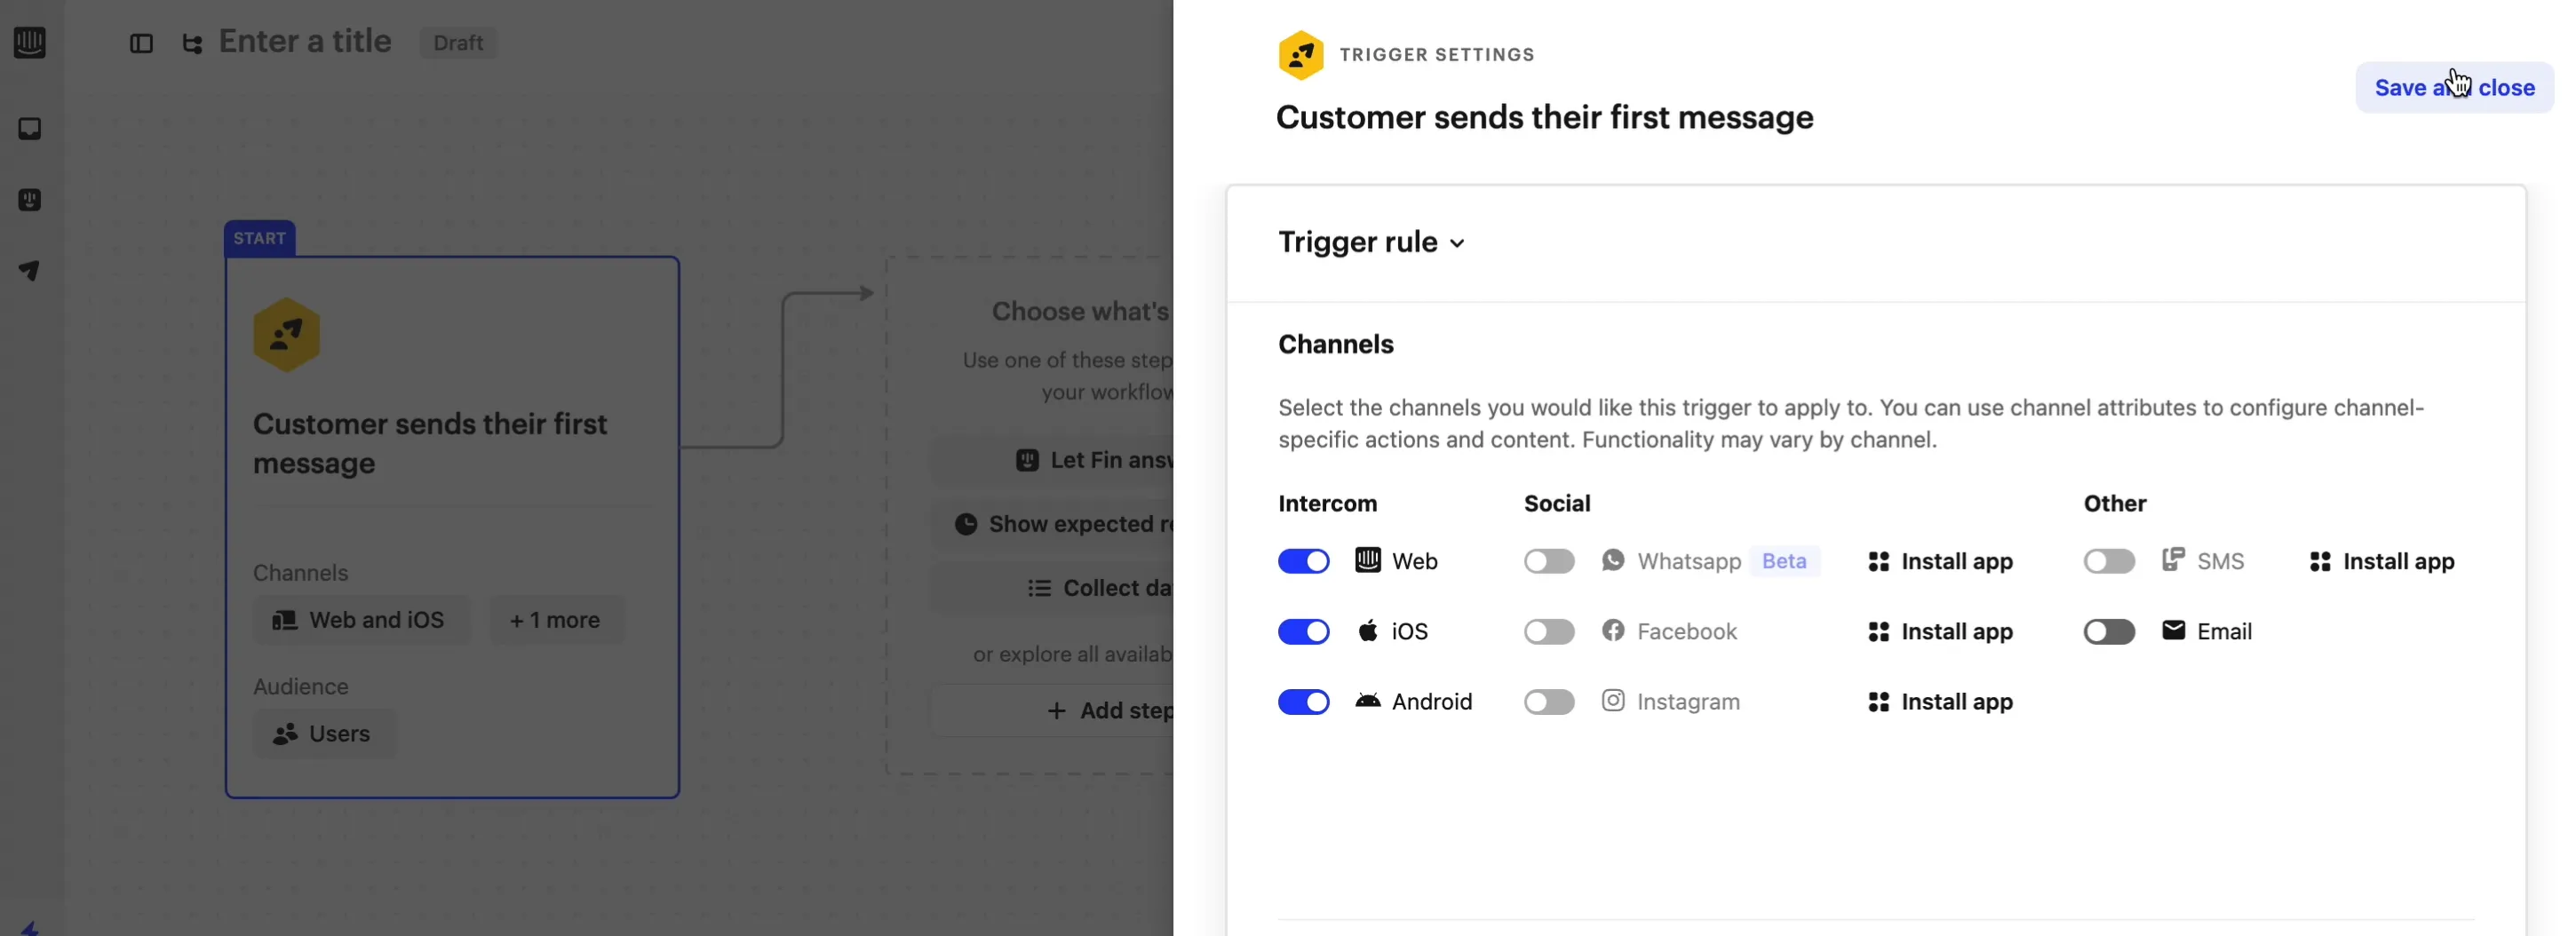
… and choose to activate it when a Customer sends their first message.

I won’t modify the triggers here, so I’ll just click Save &Close.
Now, I’m on the Workflow design page. Let’s add the first and only step — Assign…
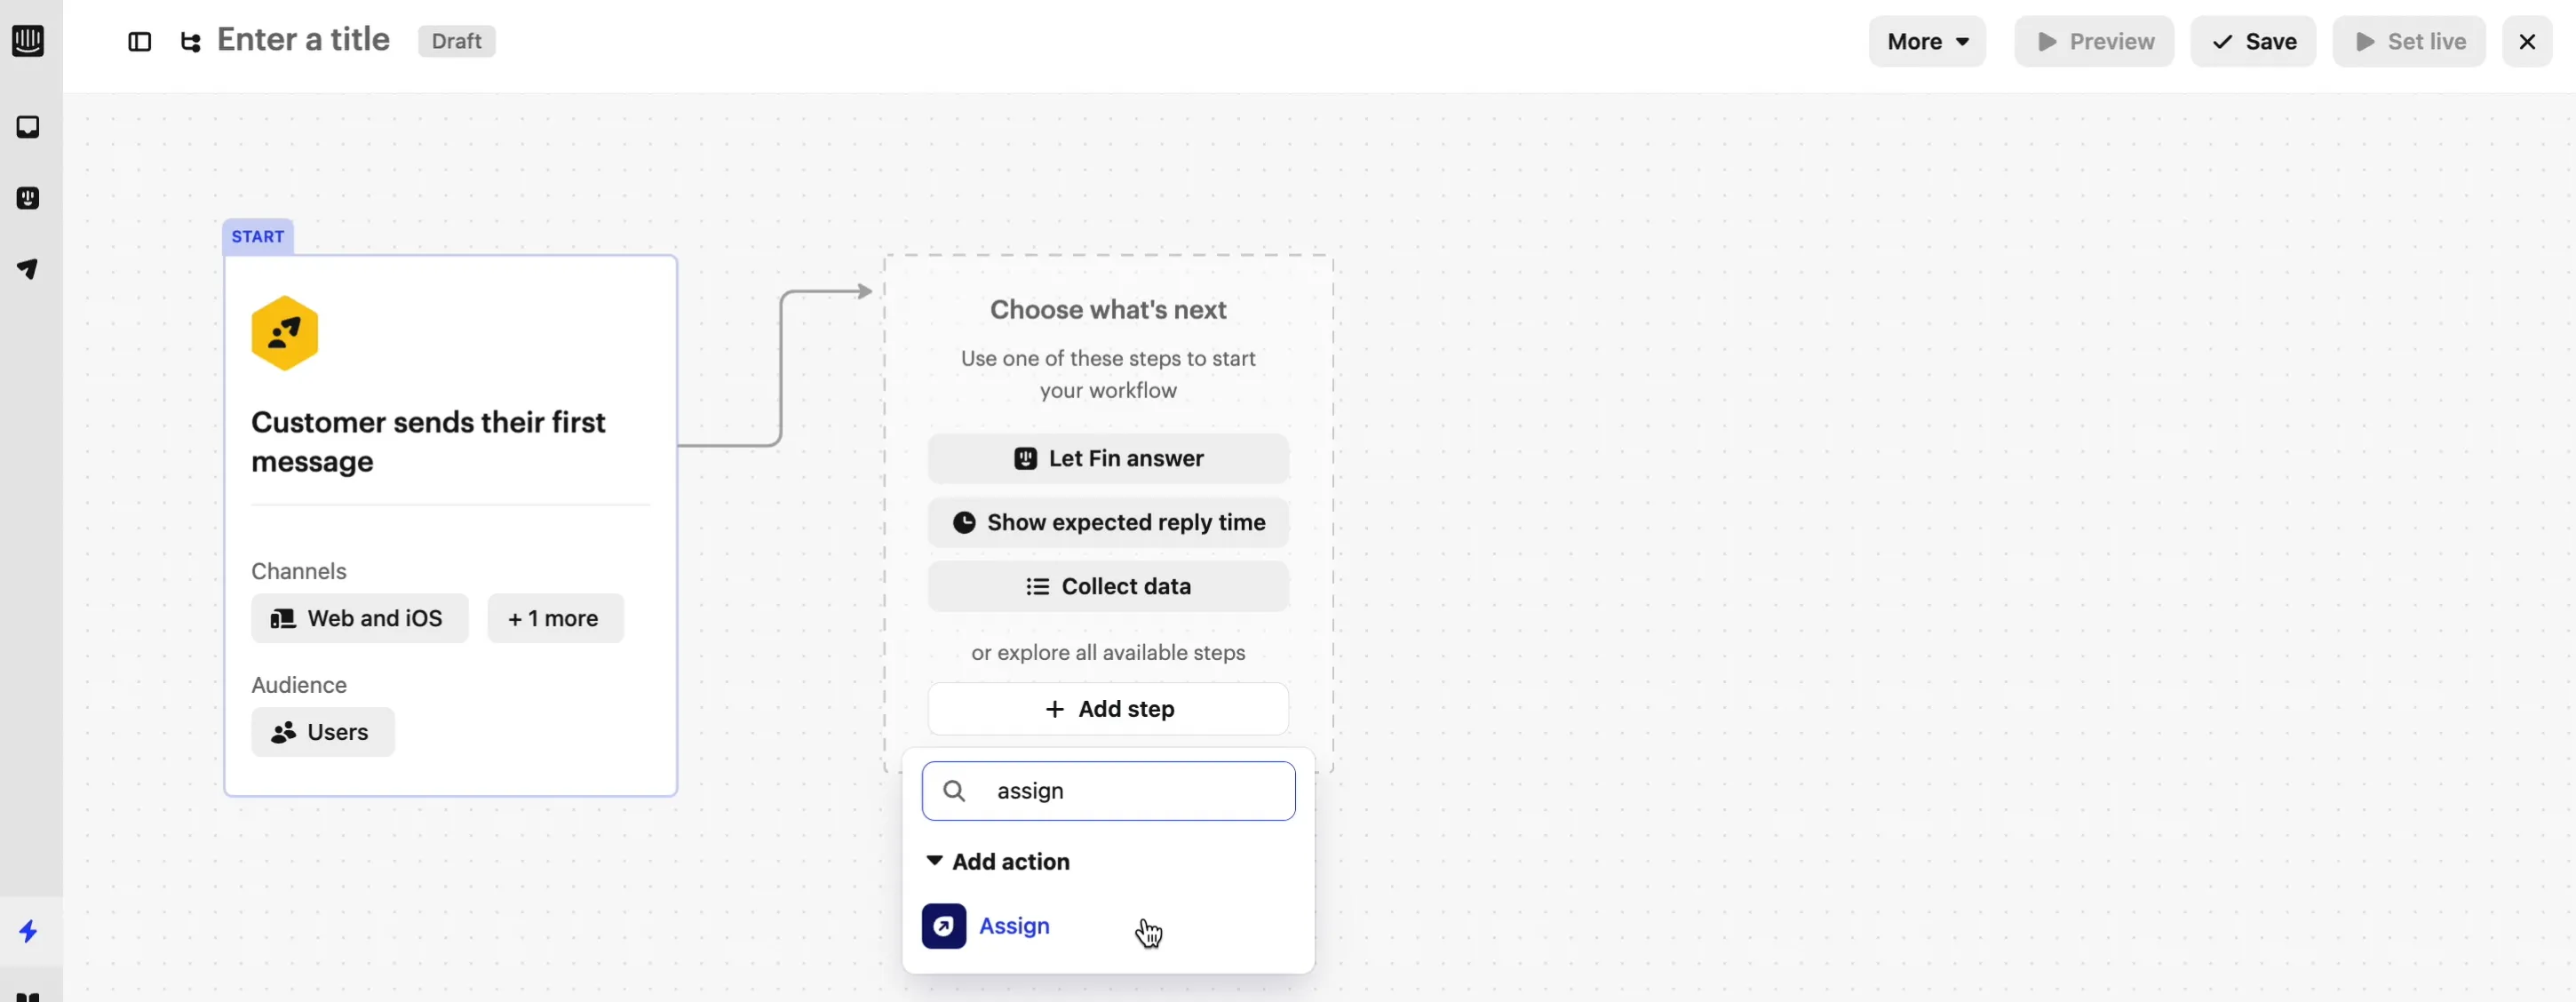
…and assign it to the Teammate that we’ve set up specifically for our AI Assistant.
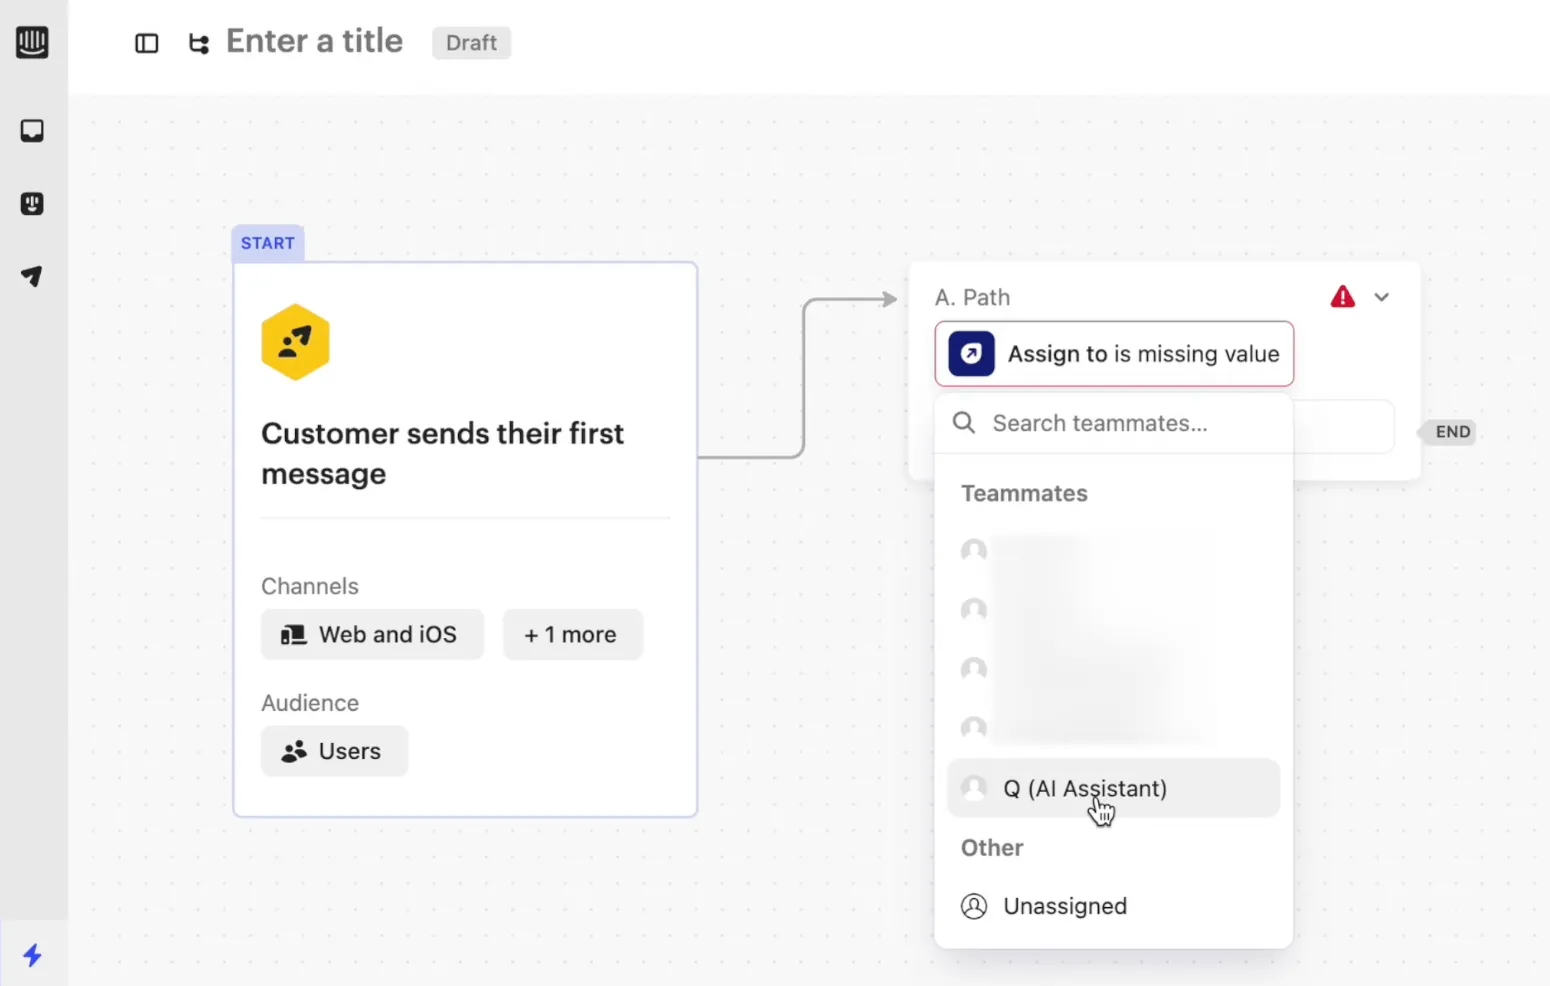
Done! Let’s move on to the Quickchat AI interface.
3. Set the AI Agent up (for success)
For this Intercom chatbot example, I’m going to set up the AI Agent for Apple products reseller called MacShop. It’s an AI Agent that’s going to provide information about Apple products and offer promotional discounts.
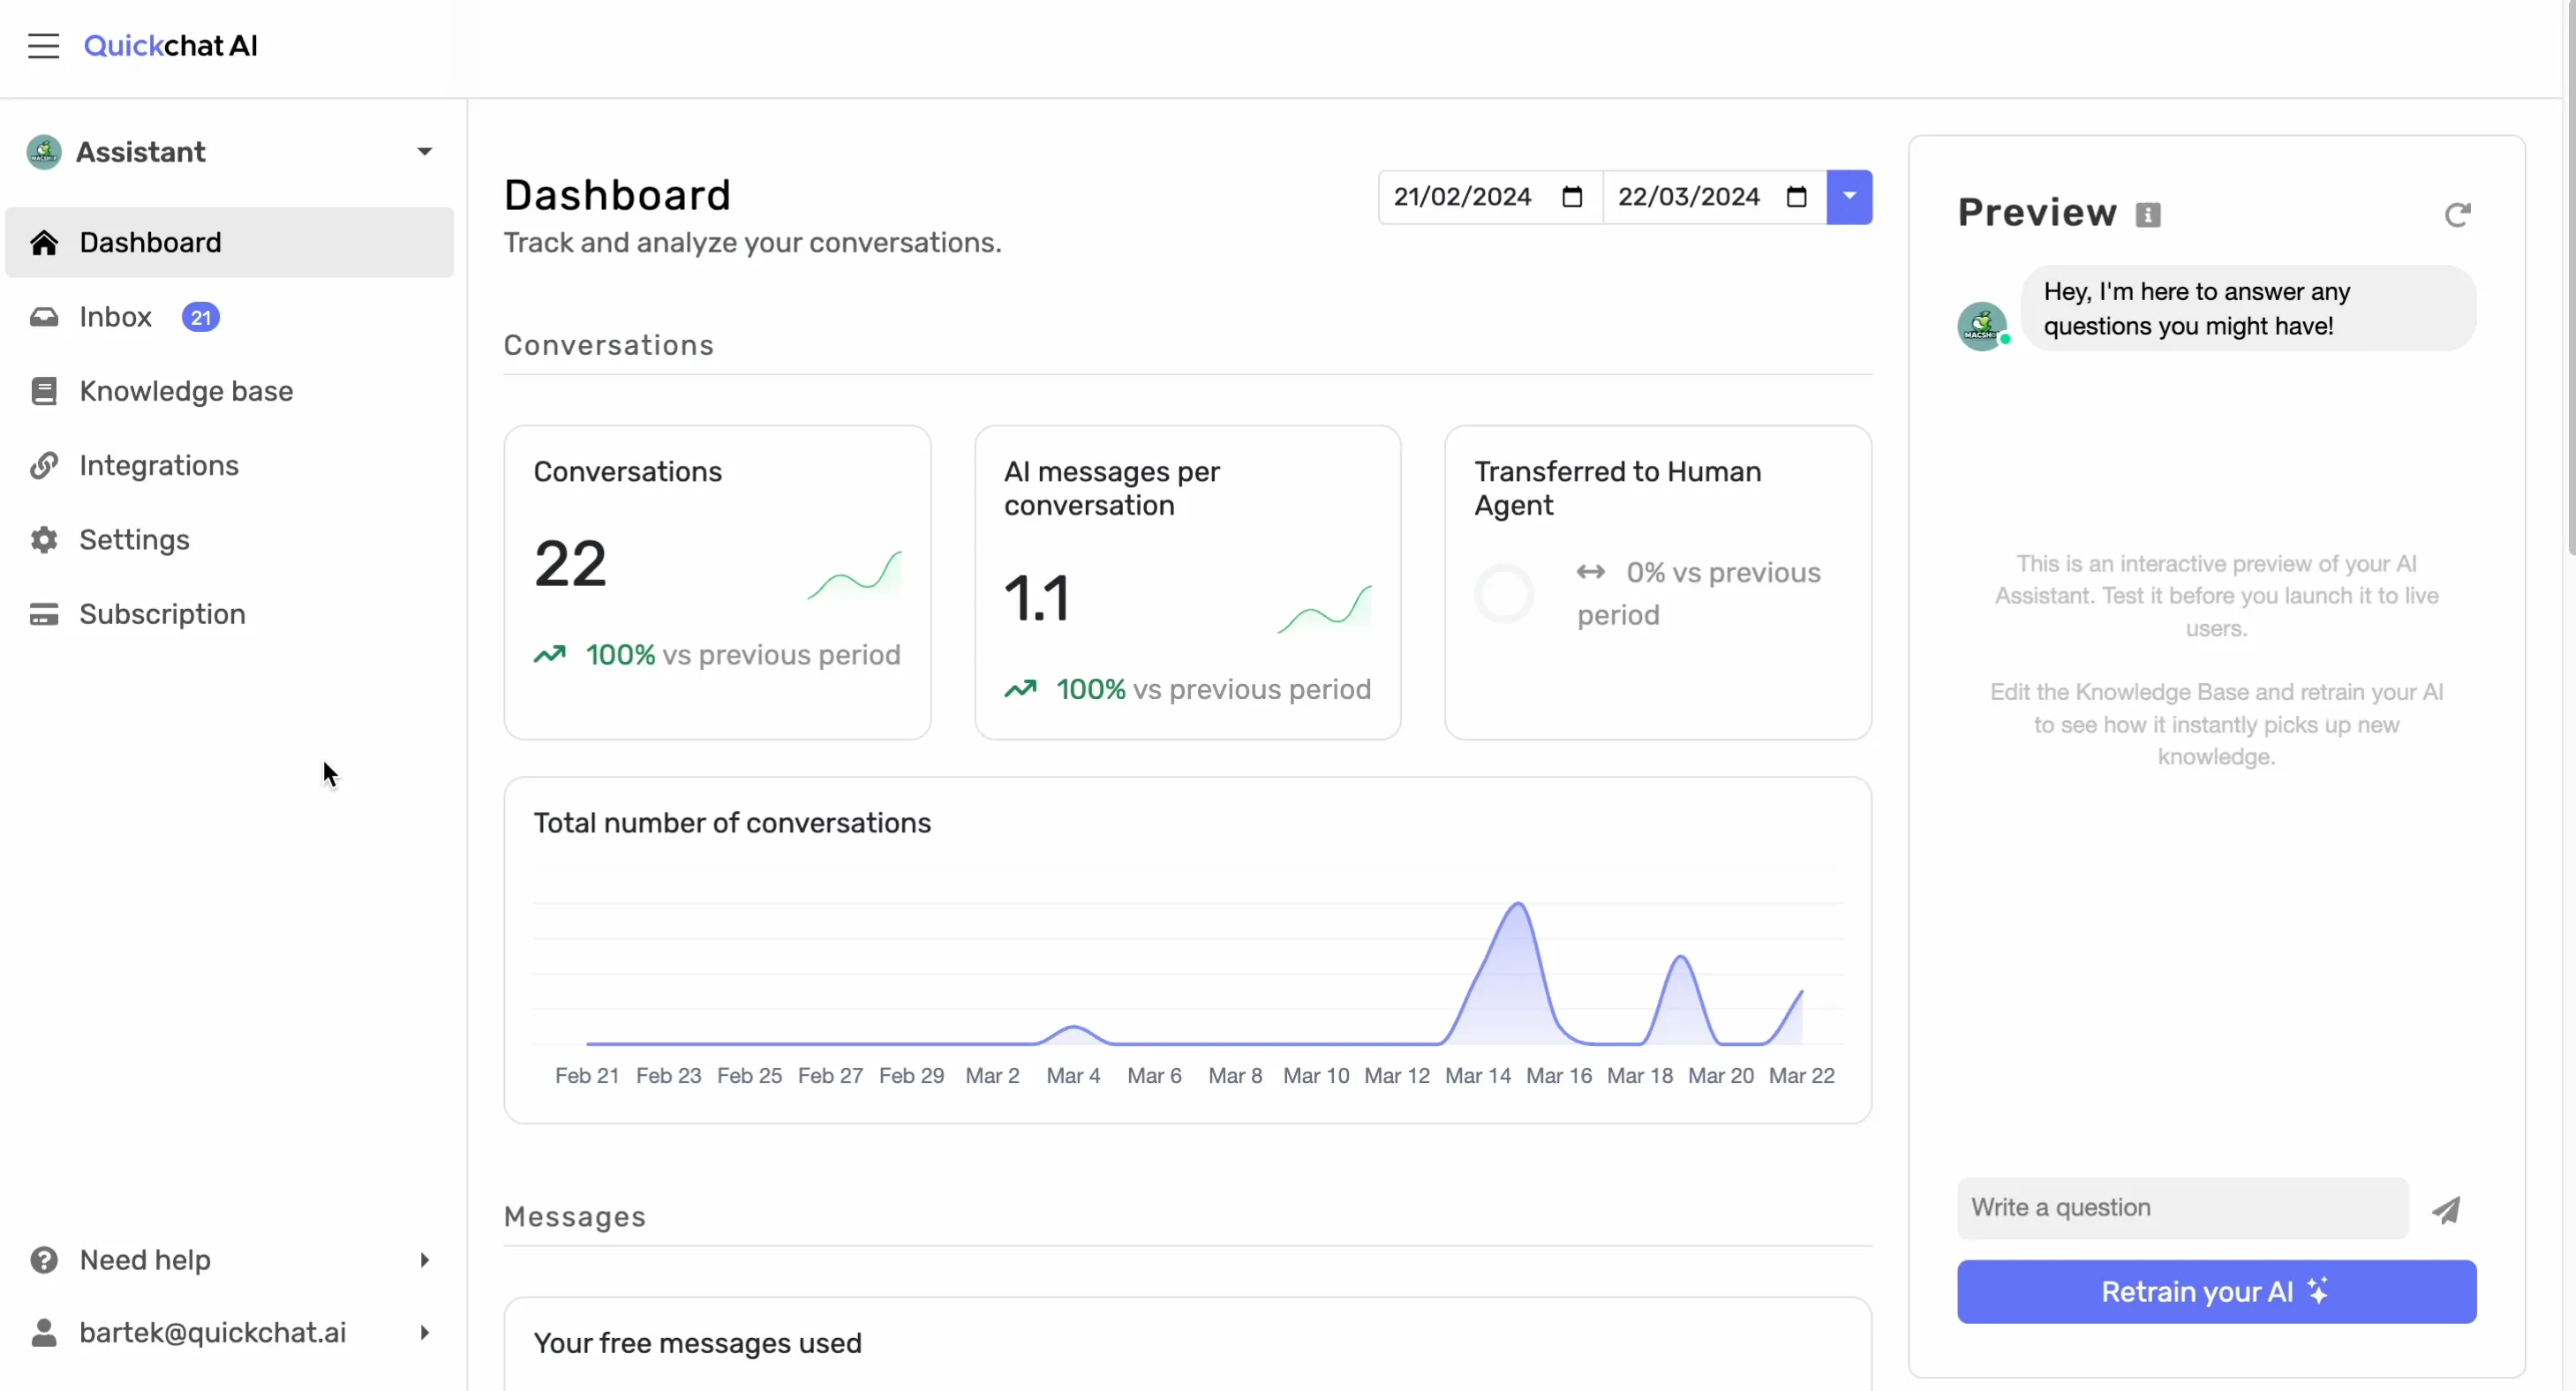
To keep a light tone of conversations and stick to the MacShop’s laid-back tone of voice, I’ll add an AI Guideline to make it use emojis in its responses (in a refined manner, though, too much is too much!).

Now, I’ll add information about Apple products to its Knowledge Base to train the AI Agent, so it basically knows all the relevant information and uses it in conversations with website visitors later on.
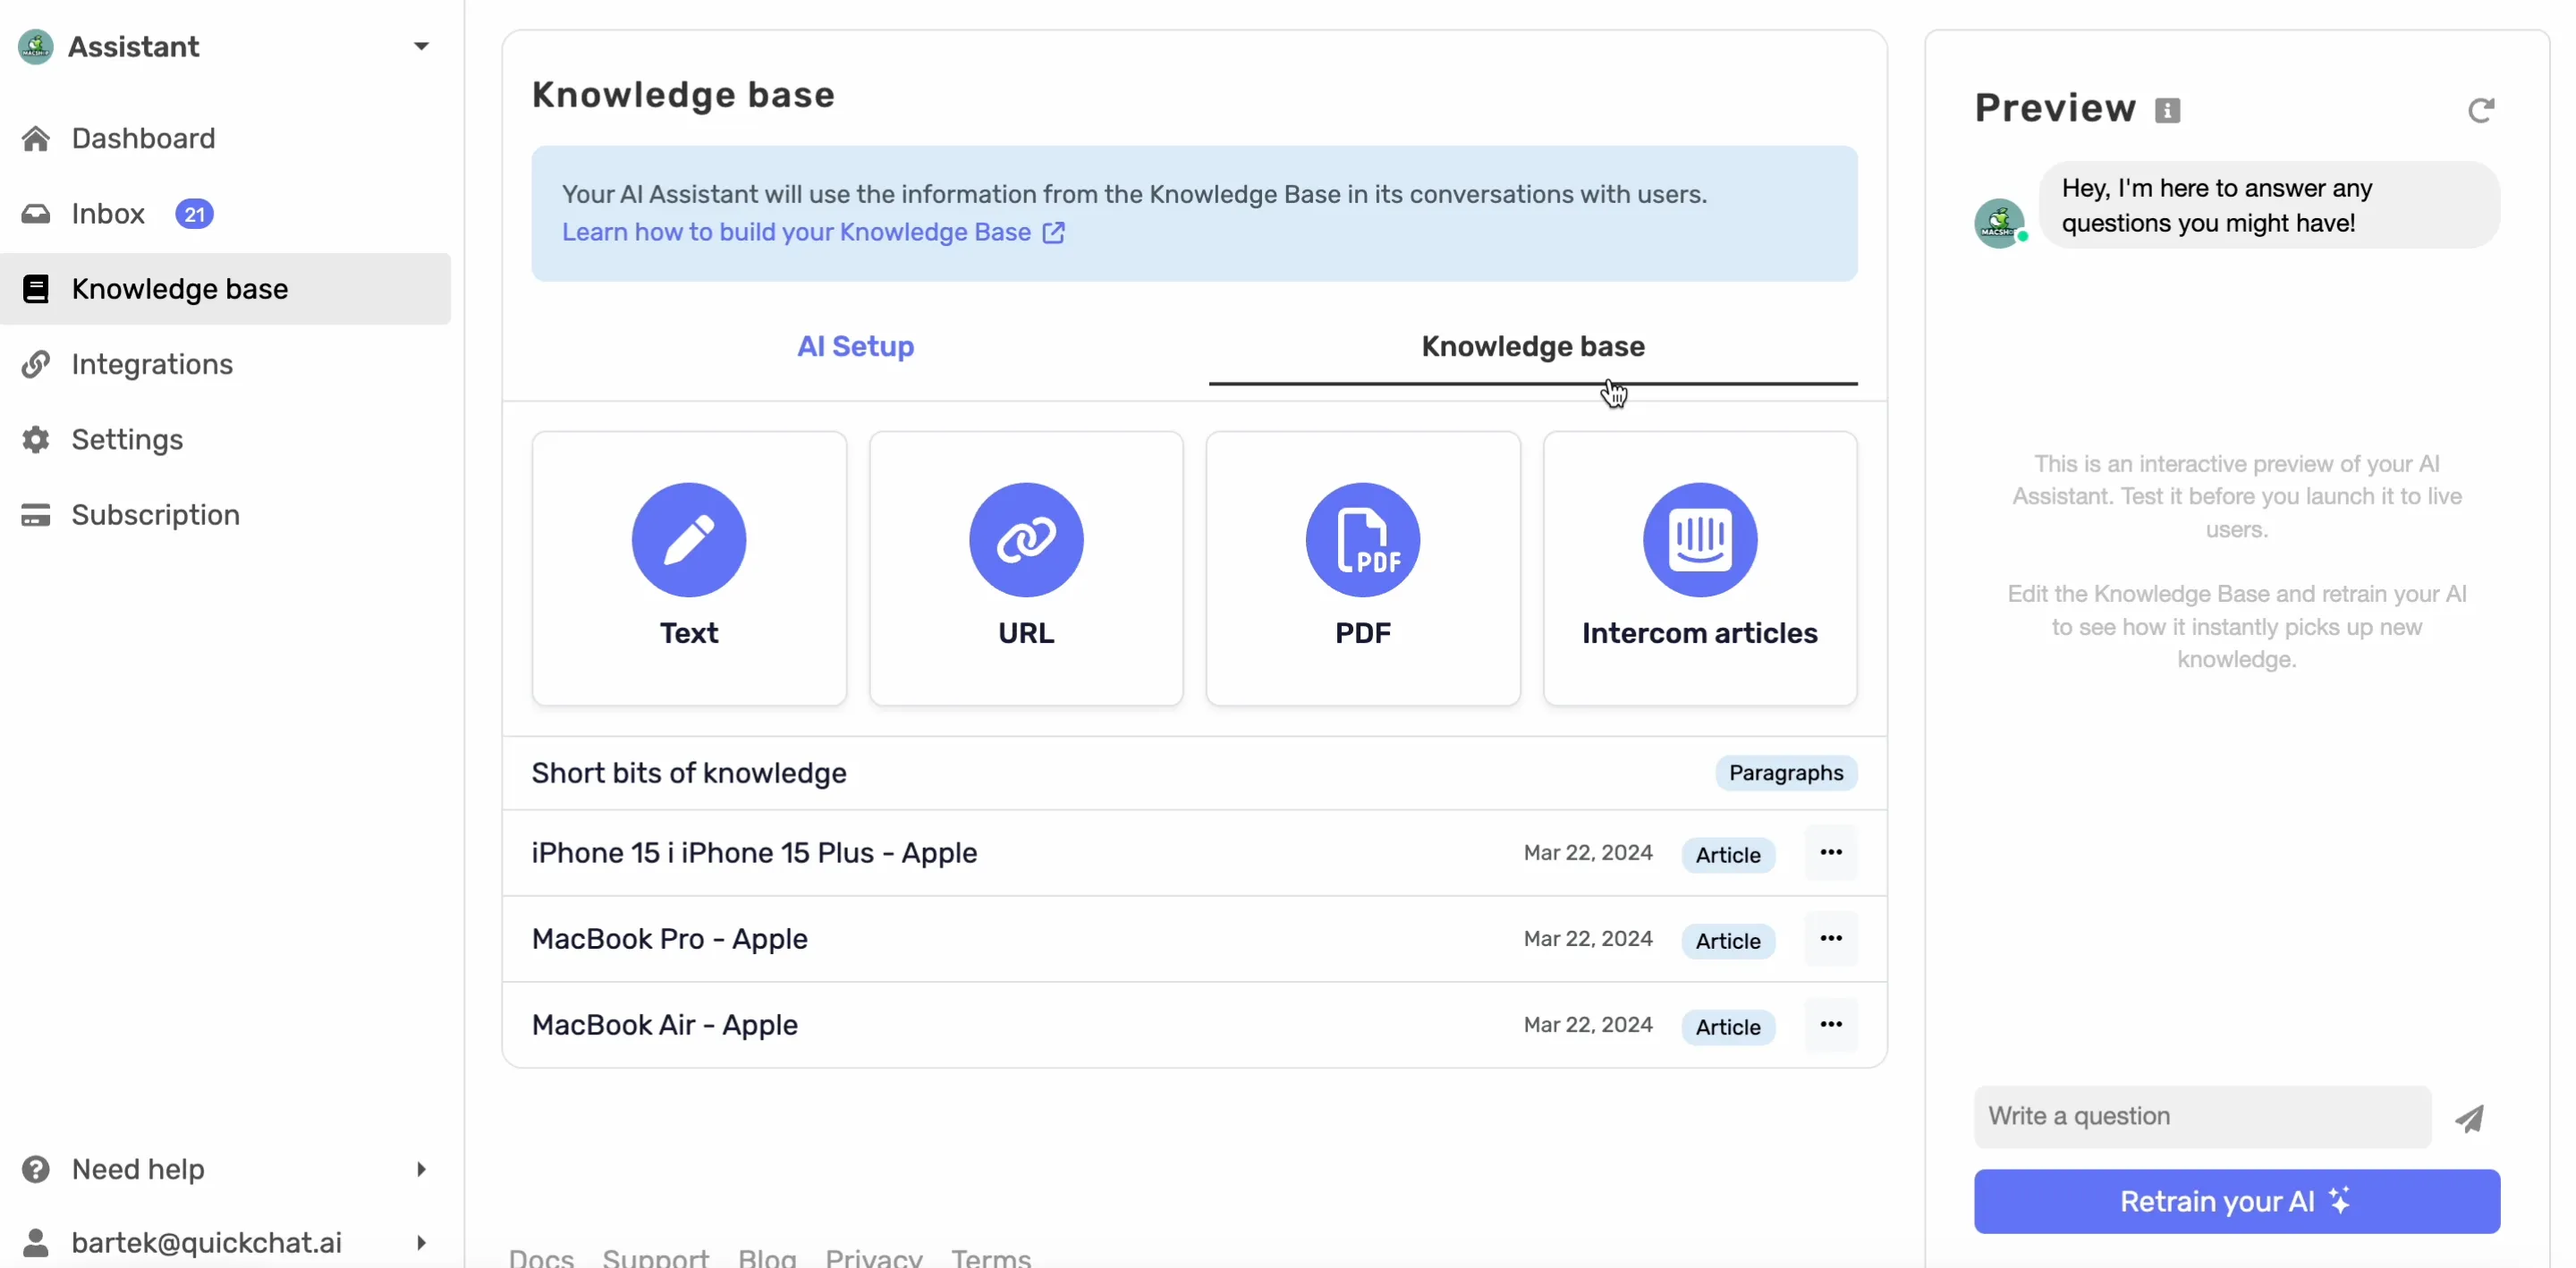
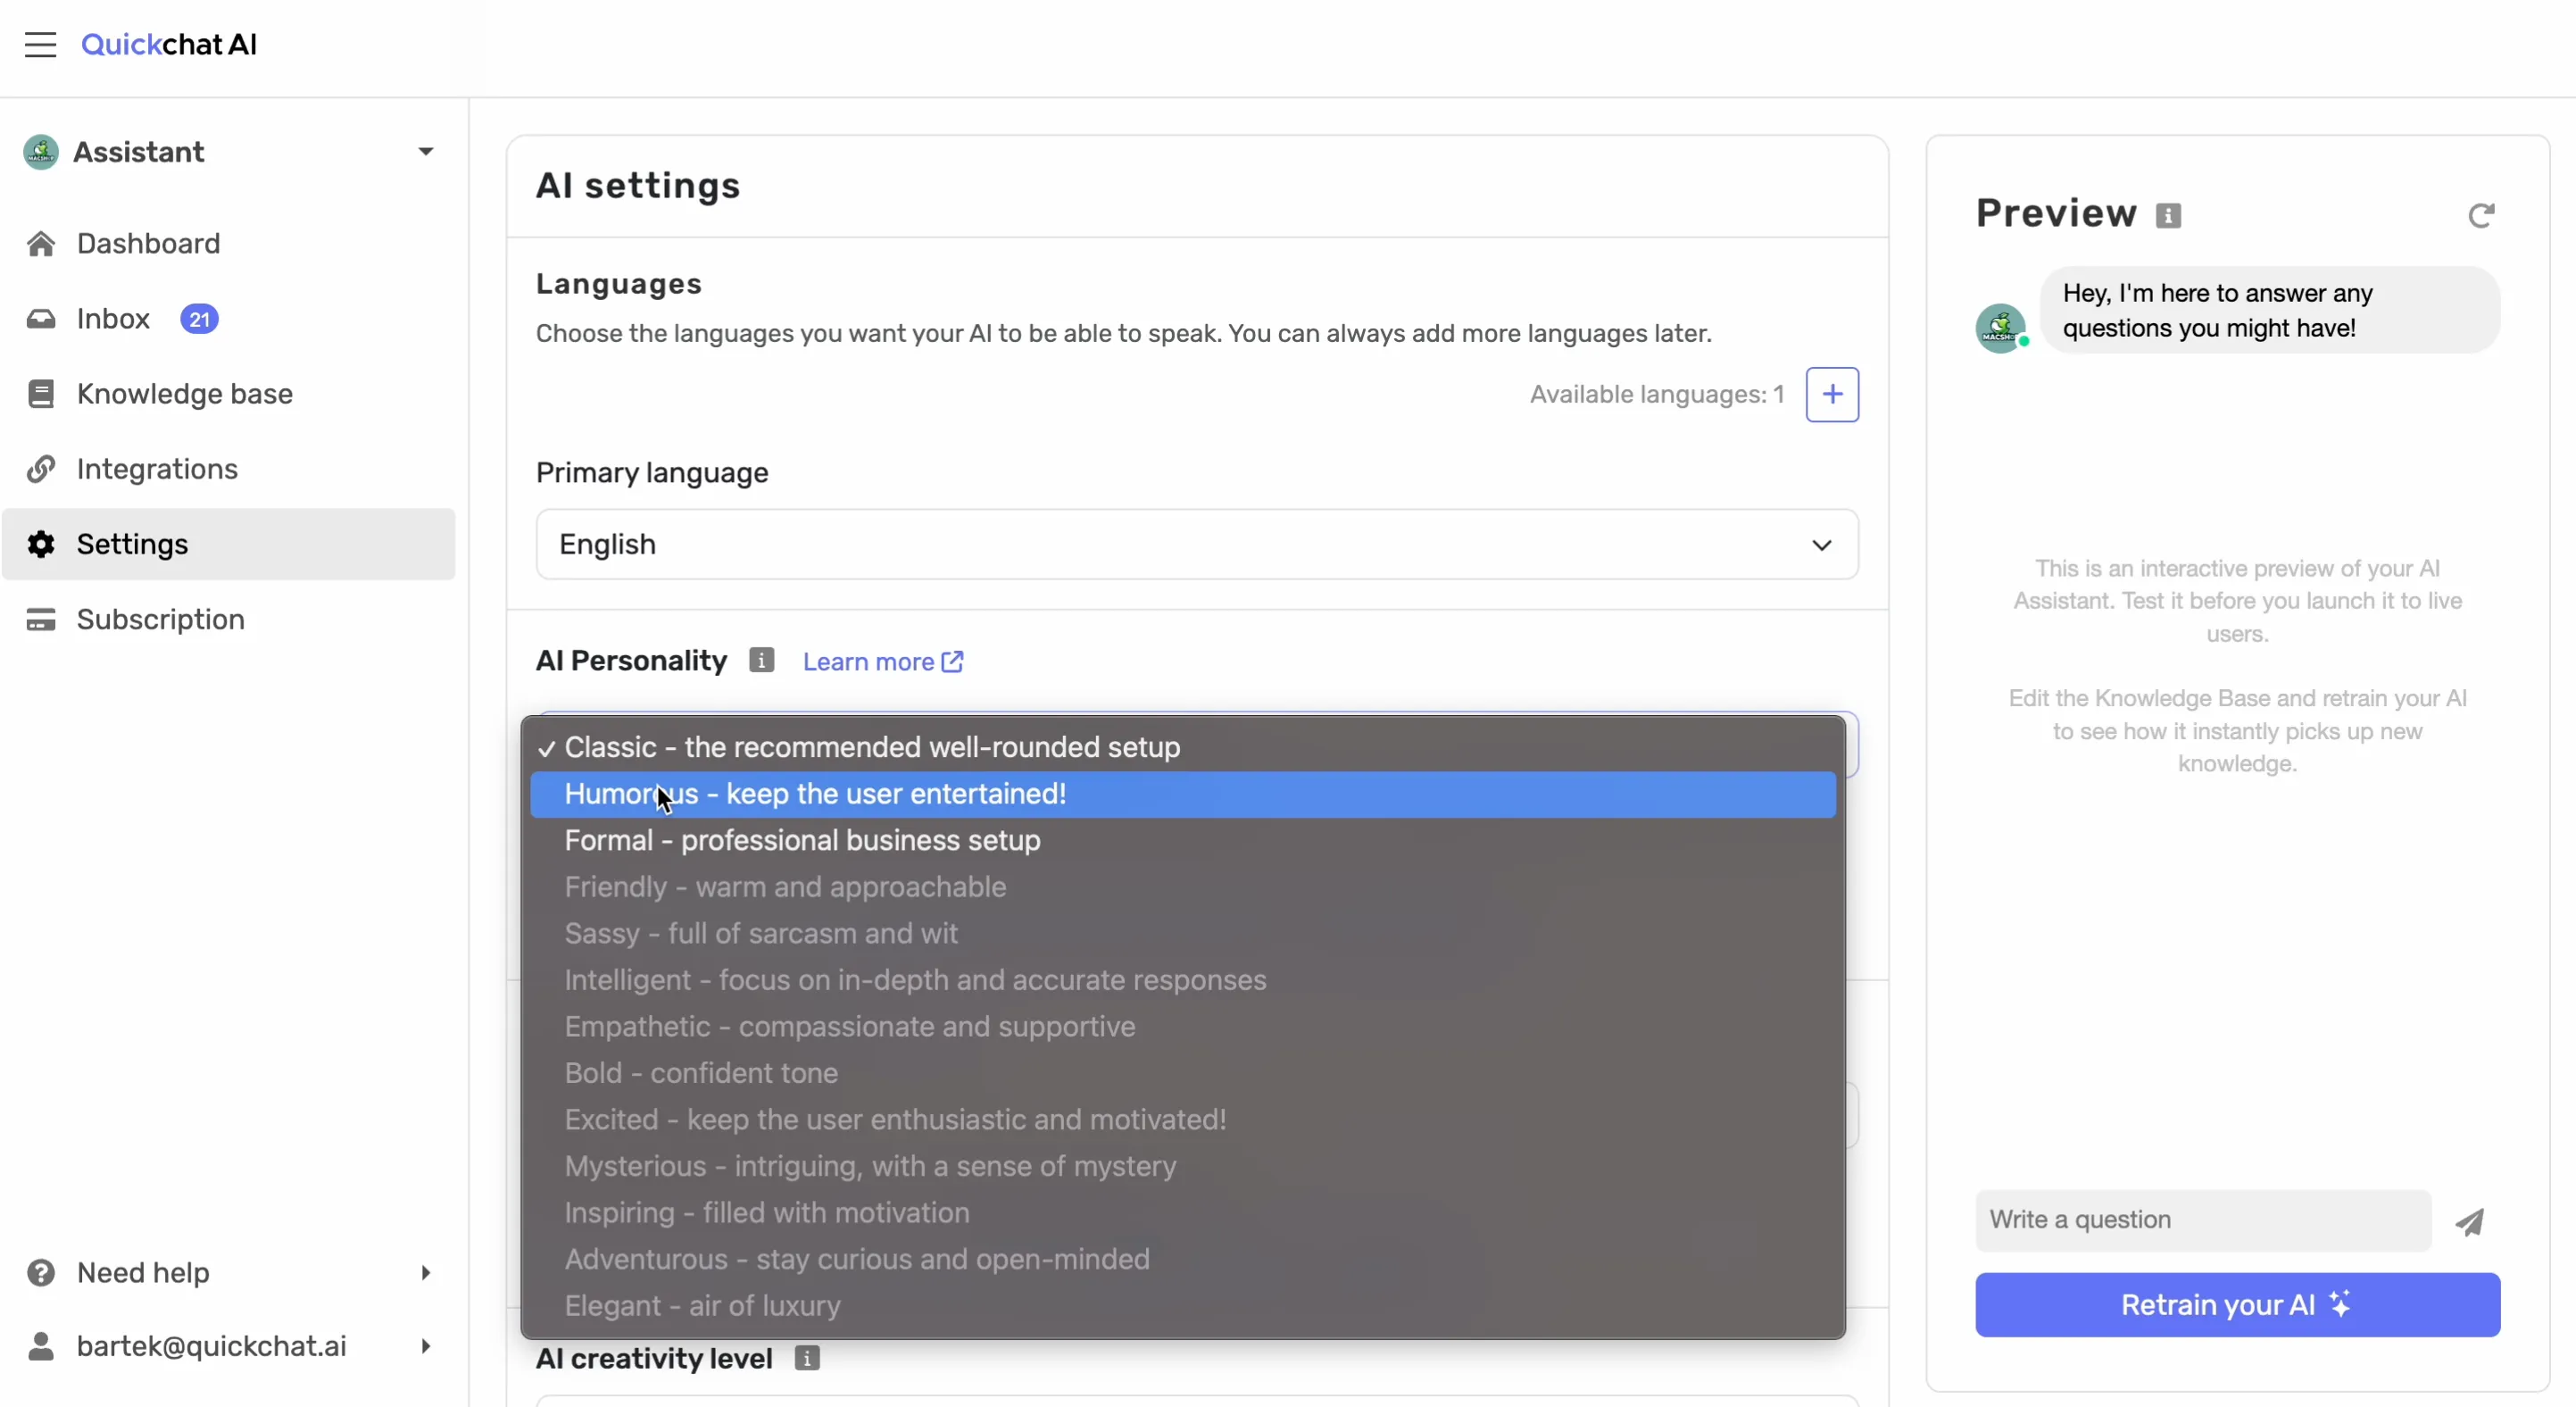
In the Settings section, I can also make a few changes like changing the AI Personality from the default Classic to Humorous to make the conversations more fun and engaging.
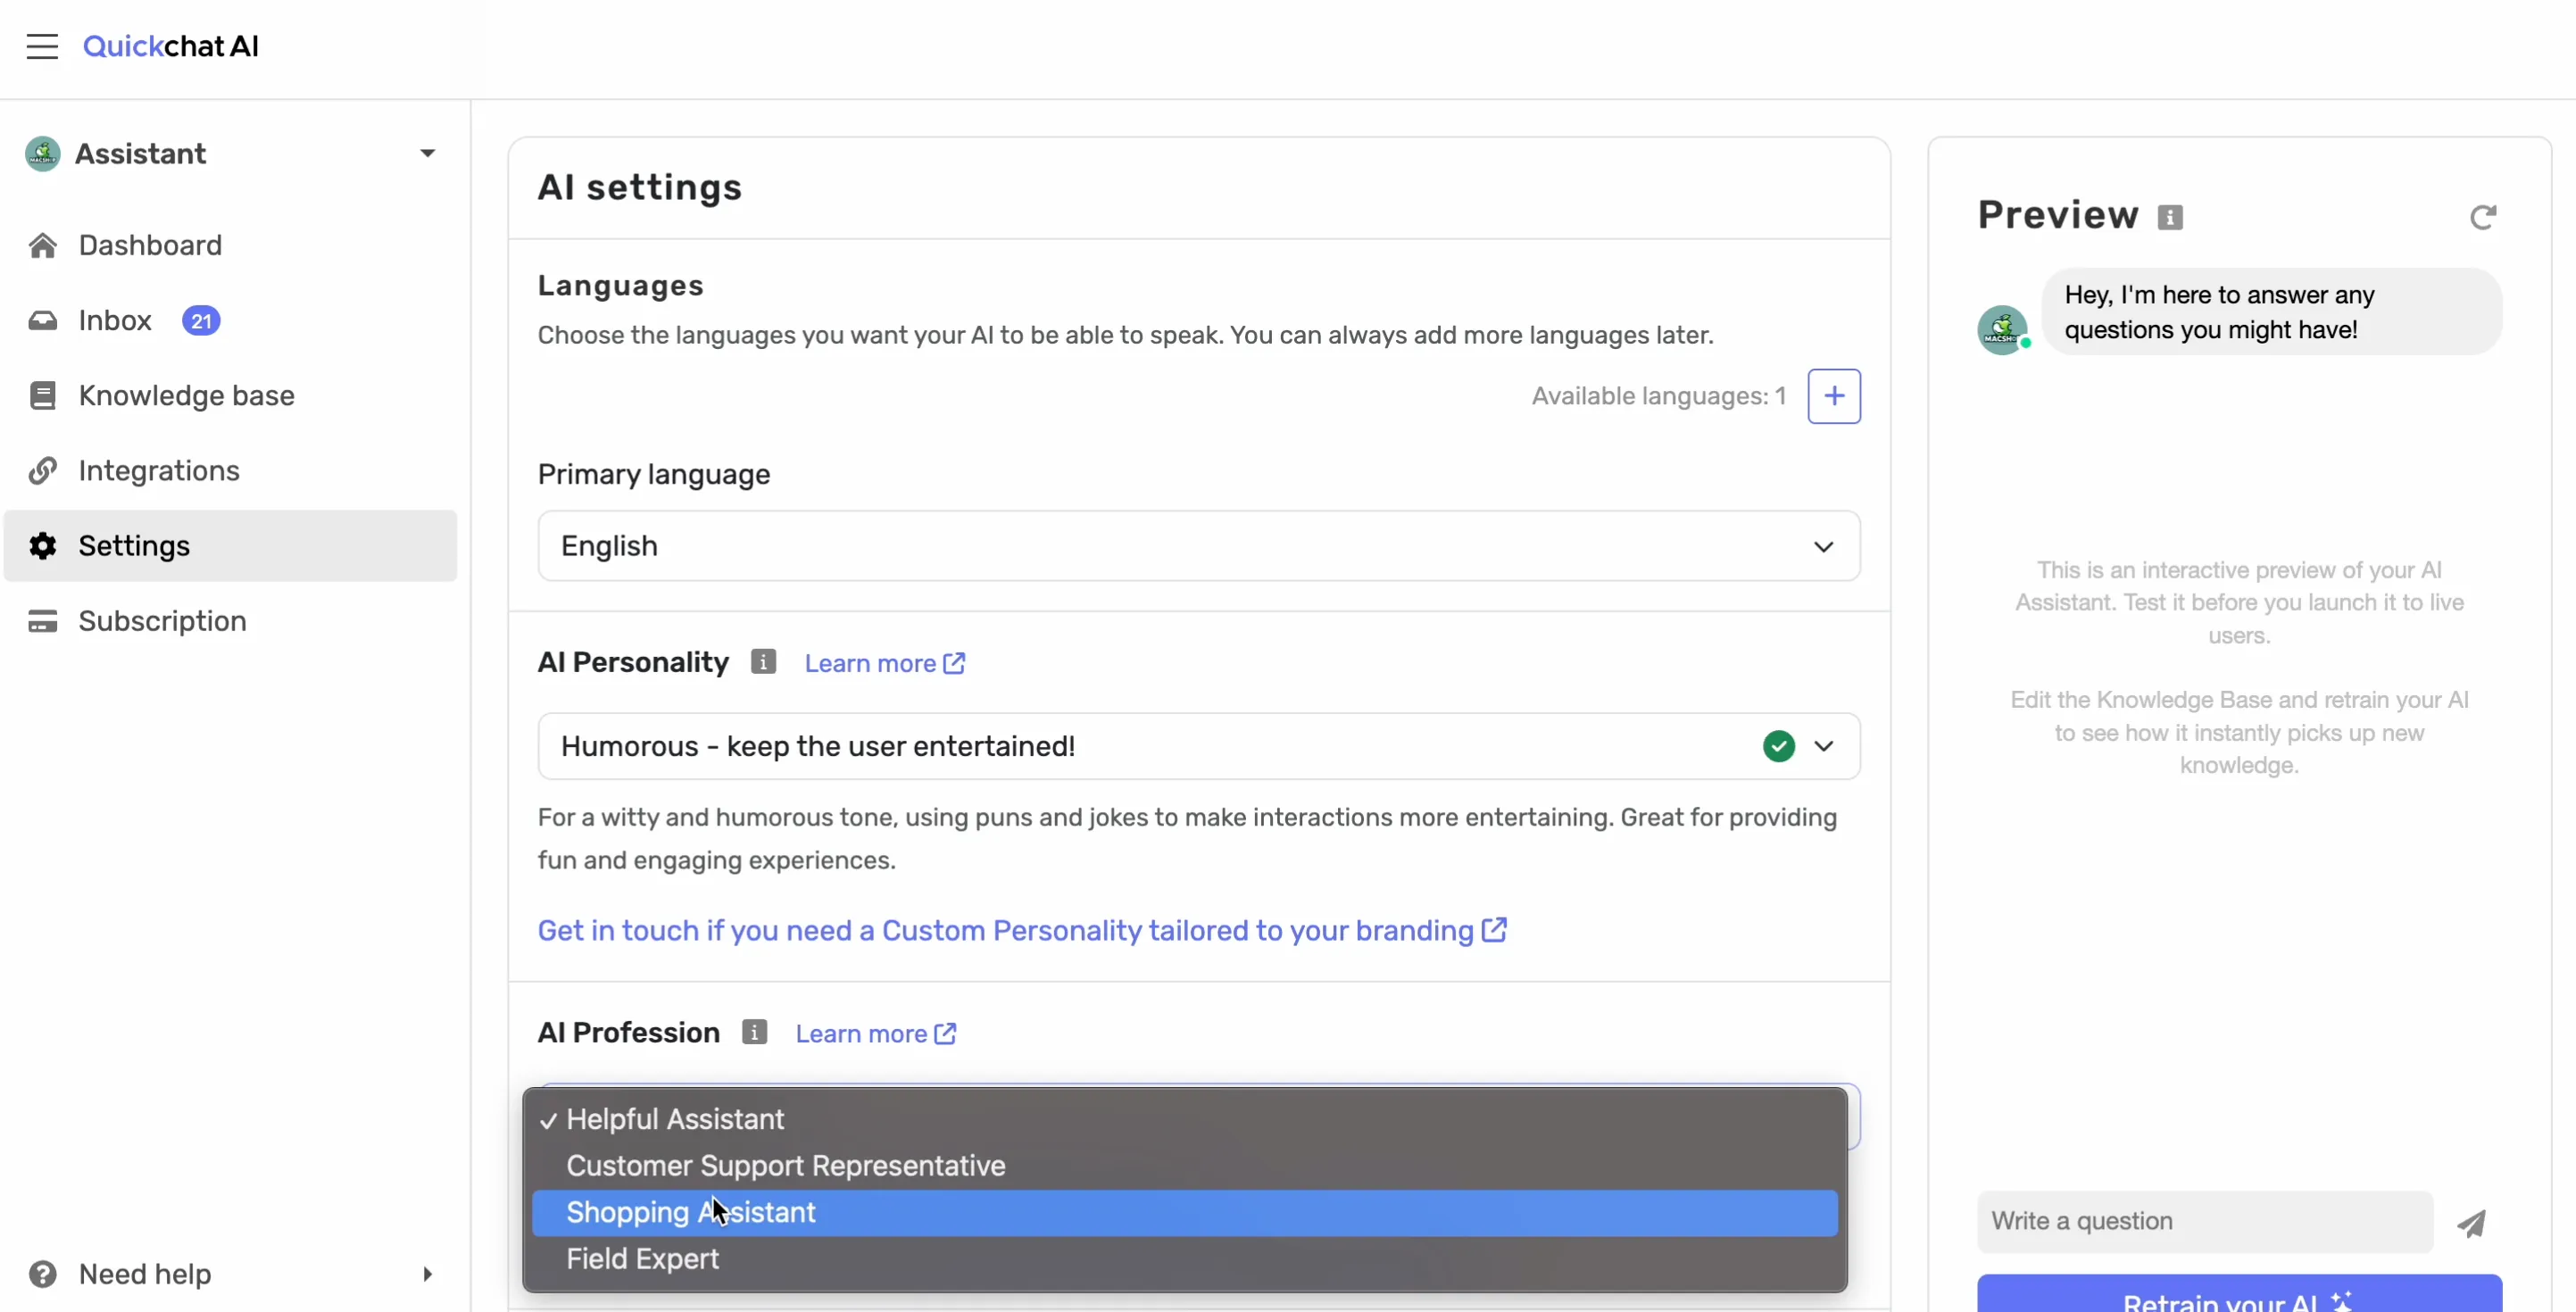
The ultimate goal of these interactions is to boost sales on the website so I’ll go for the Shopping Assistant AI Profession to make the chatbot proactively offer personalized product recommendations and send users to product detail pages.
Now, for the fun part…
4. Integrate with Intercom in one click
Let’s switch to the Integrations tab.
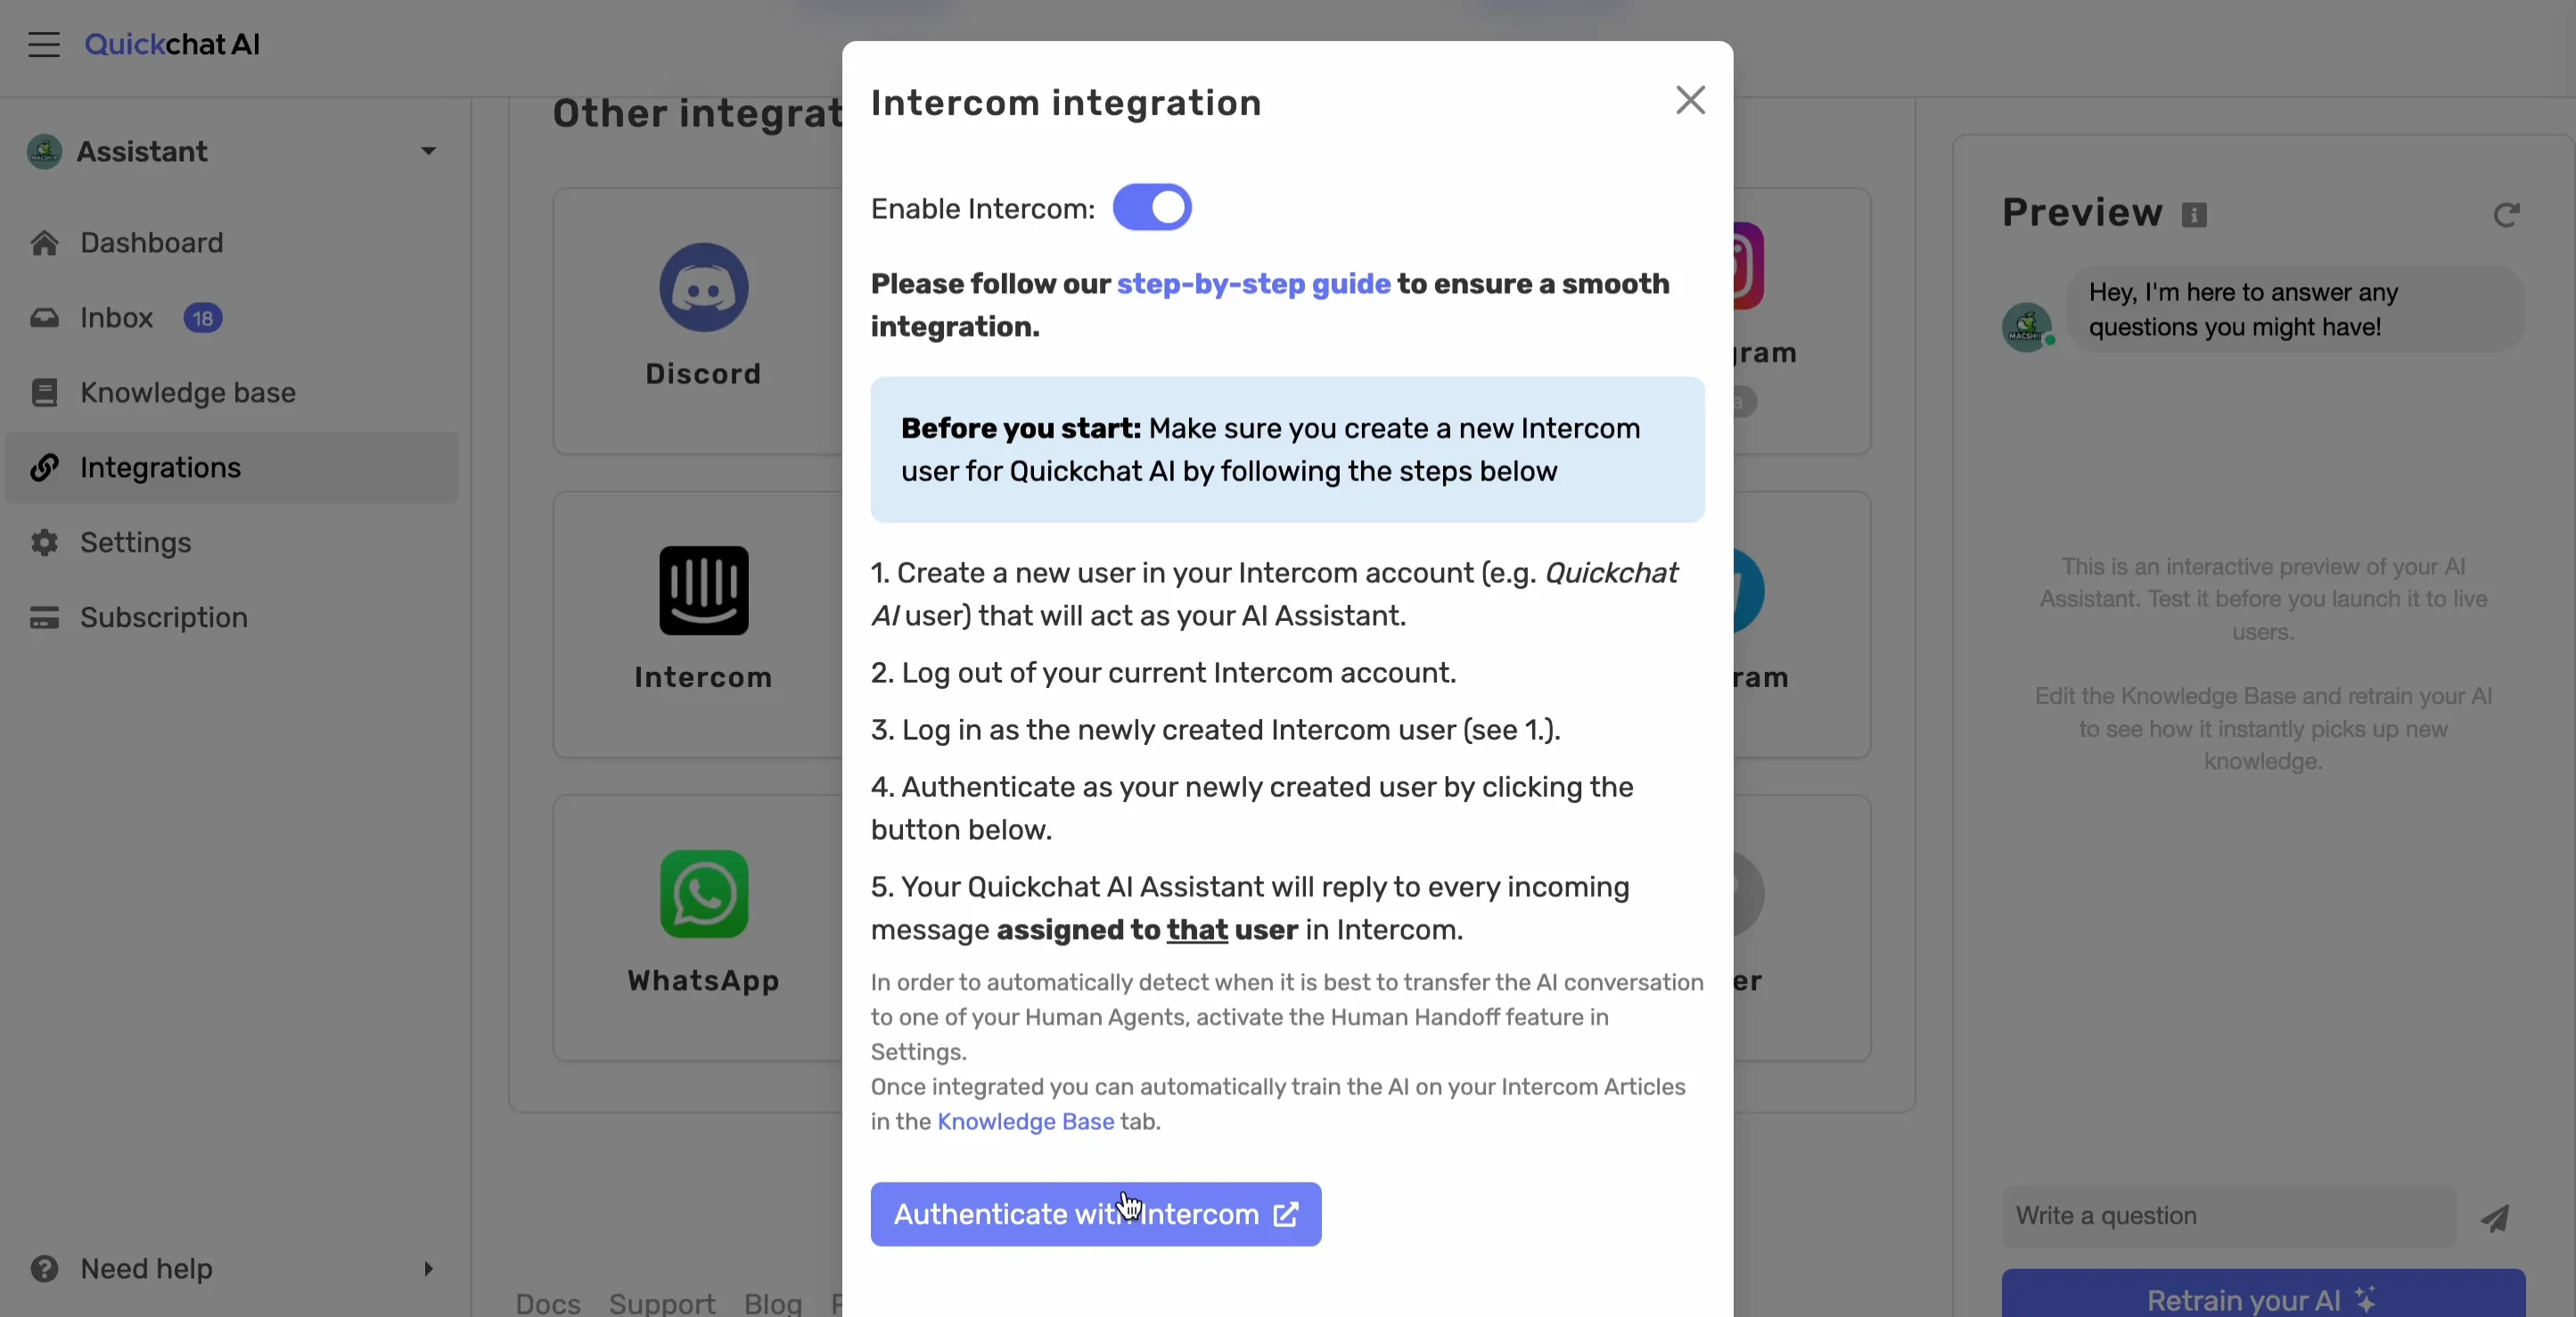
I’m interested in the Intercom integration, so I’ll just click that. In this window, I’ll enable the Intercom integration with the toggle button and hit Authenticate.
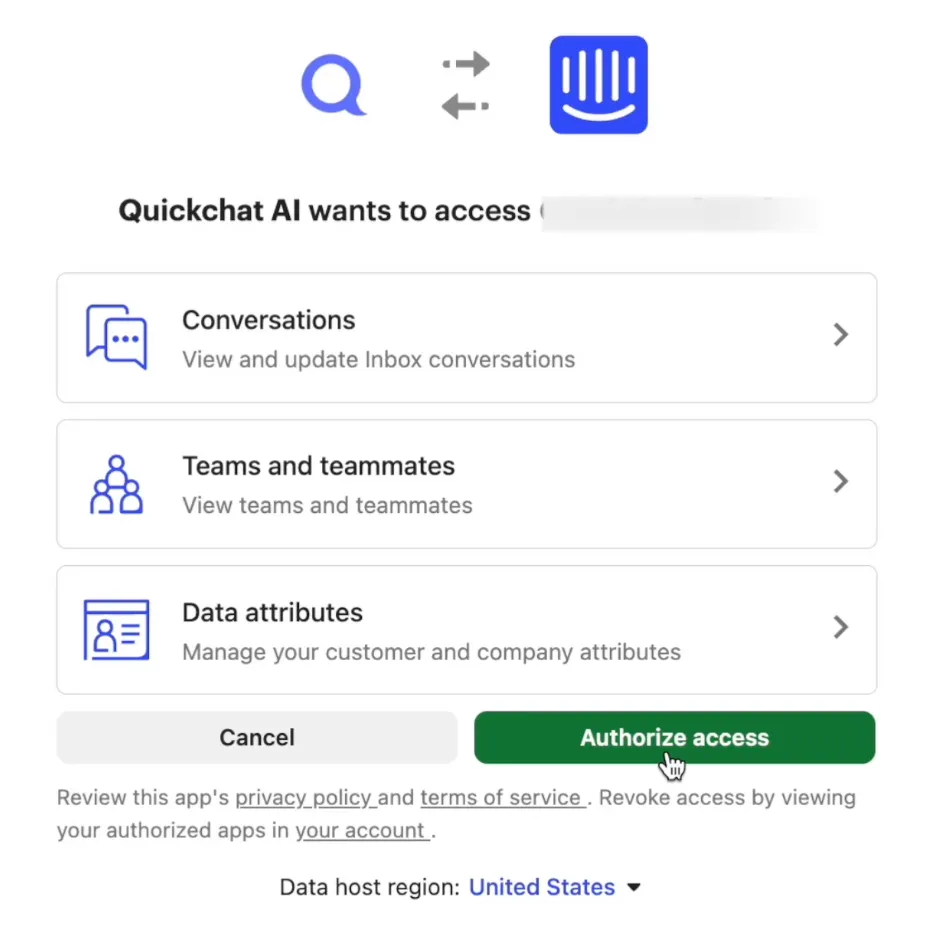
Continue by Authorizing the access.
And… It’s alive! Let’s check it in the Integrations tab to make sure.
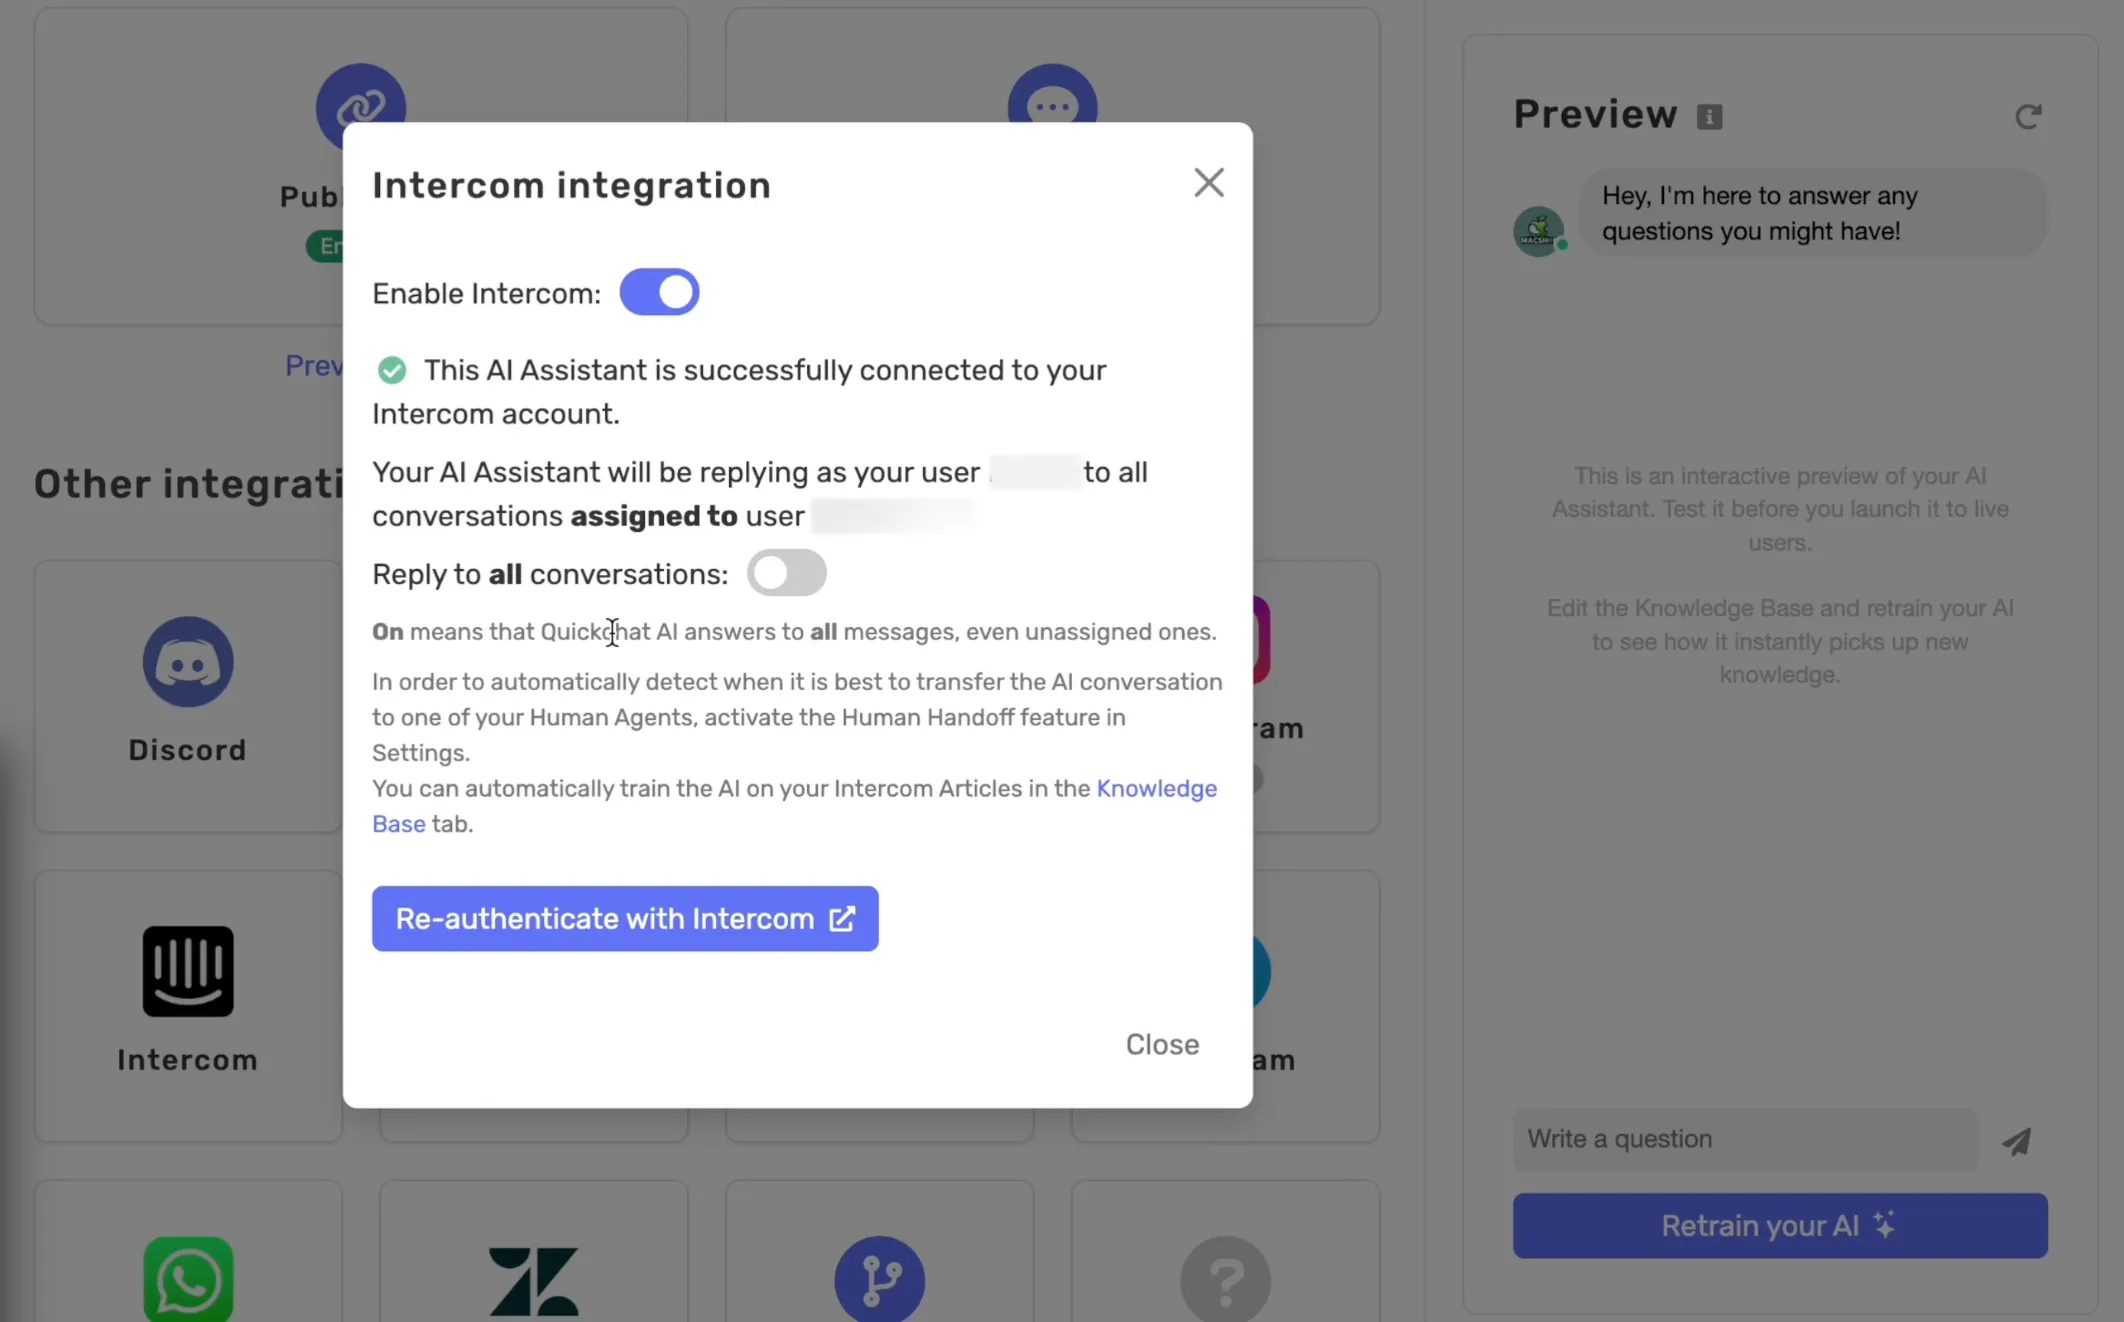
And there I have it: This AI Agent is successfully connected to your Intercom account.
It’s time to deploy the Intercom’s widget to my website and test whether Quickchat AI Agent responds properly. For this Intercom chatbot example, I’ll do it in WordPress.
5. Add the Intercom widget to your site
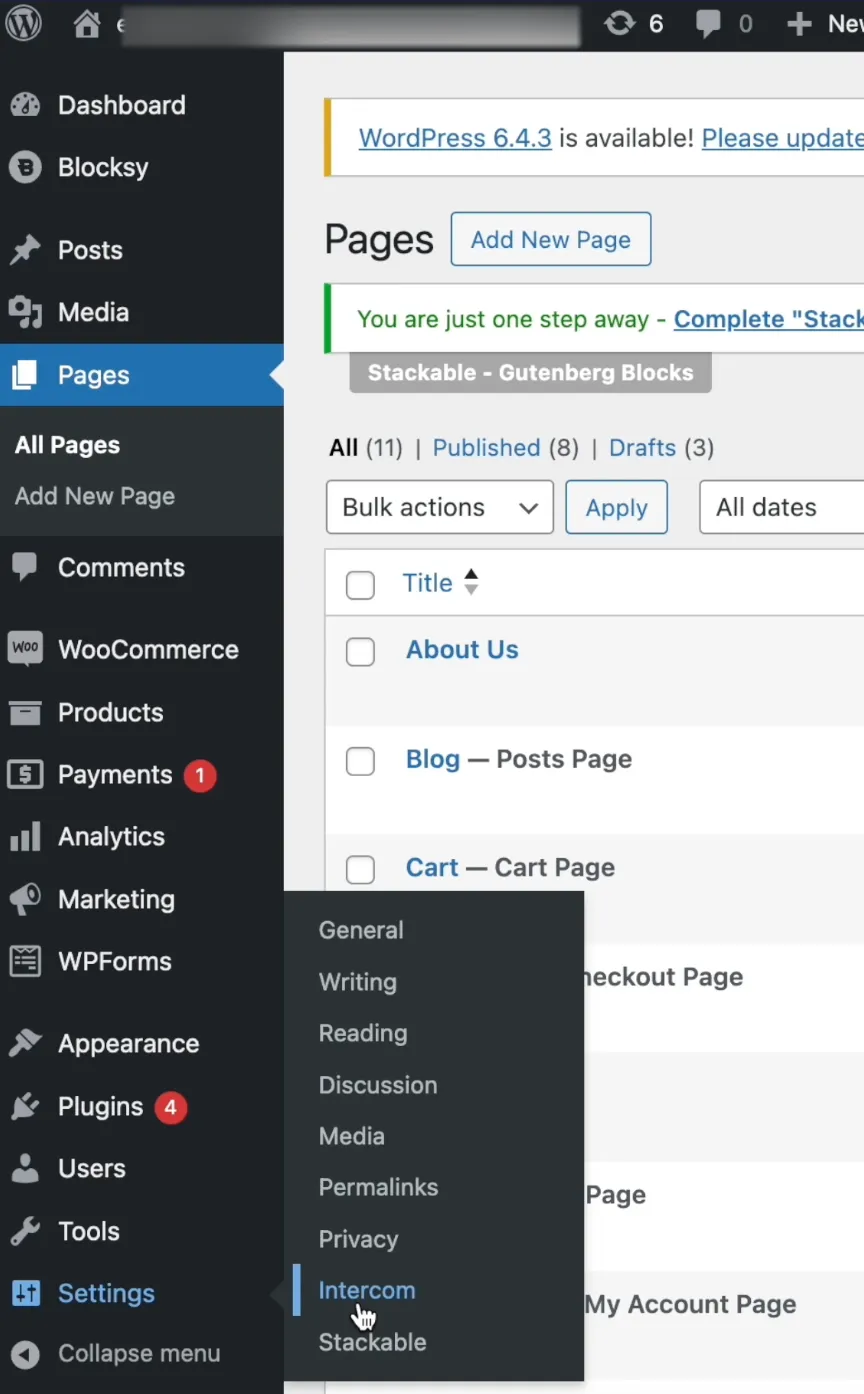
Alright, now I’m in WordPress — I’ve already downloaded the Intercom plugin to streamline to process of integrating Intercom into my website. If you don’t have it, just look for “Intercom” in the Plugins section and add it to WordPress.
I’ll hover over the Settings and go straight to the Intercom section.
Next, there’s only one big button that’s pretty self-explanatory.
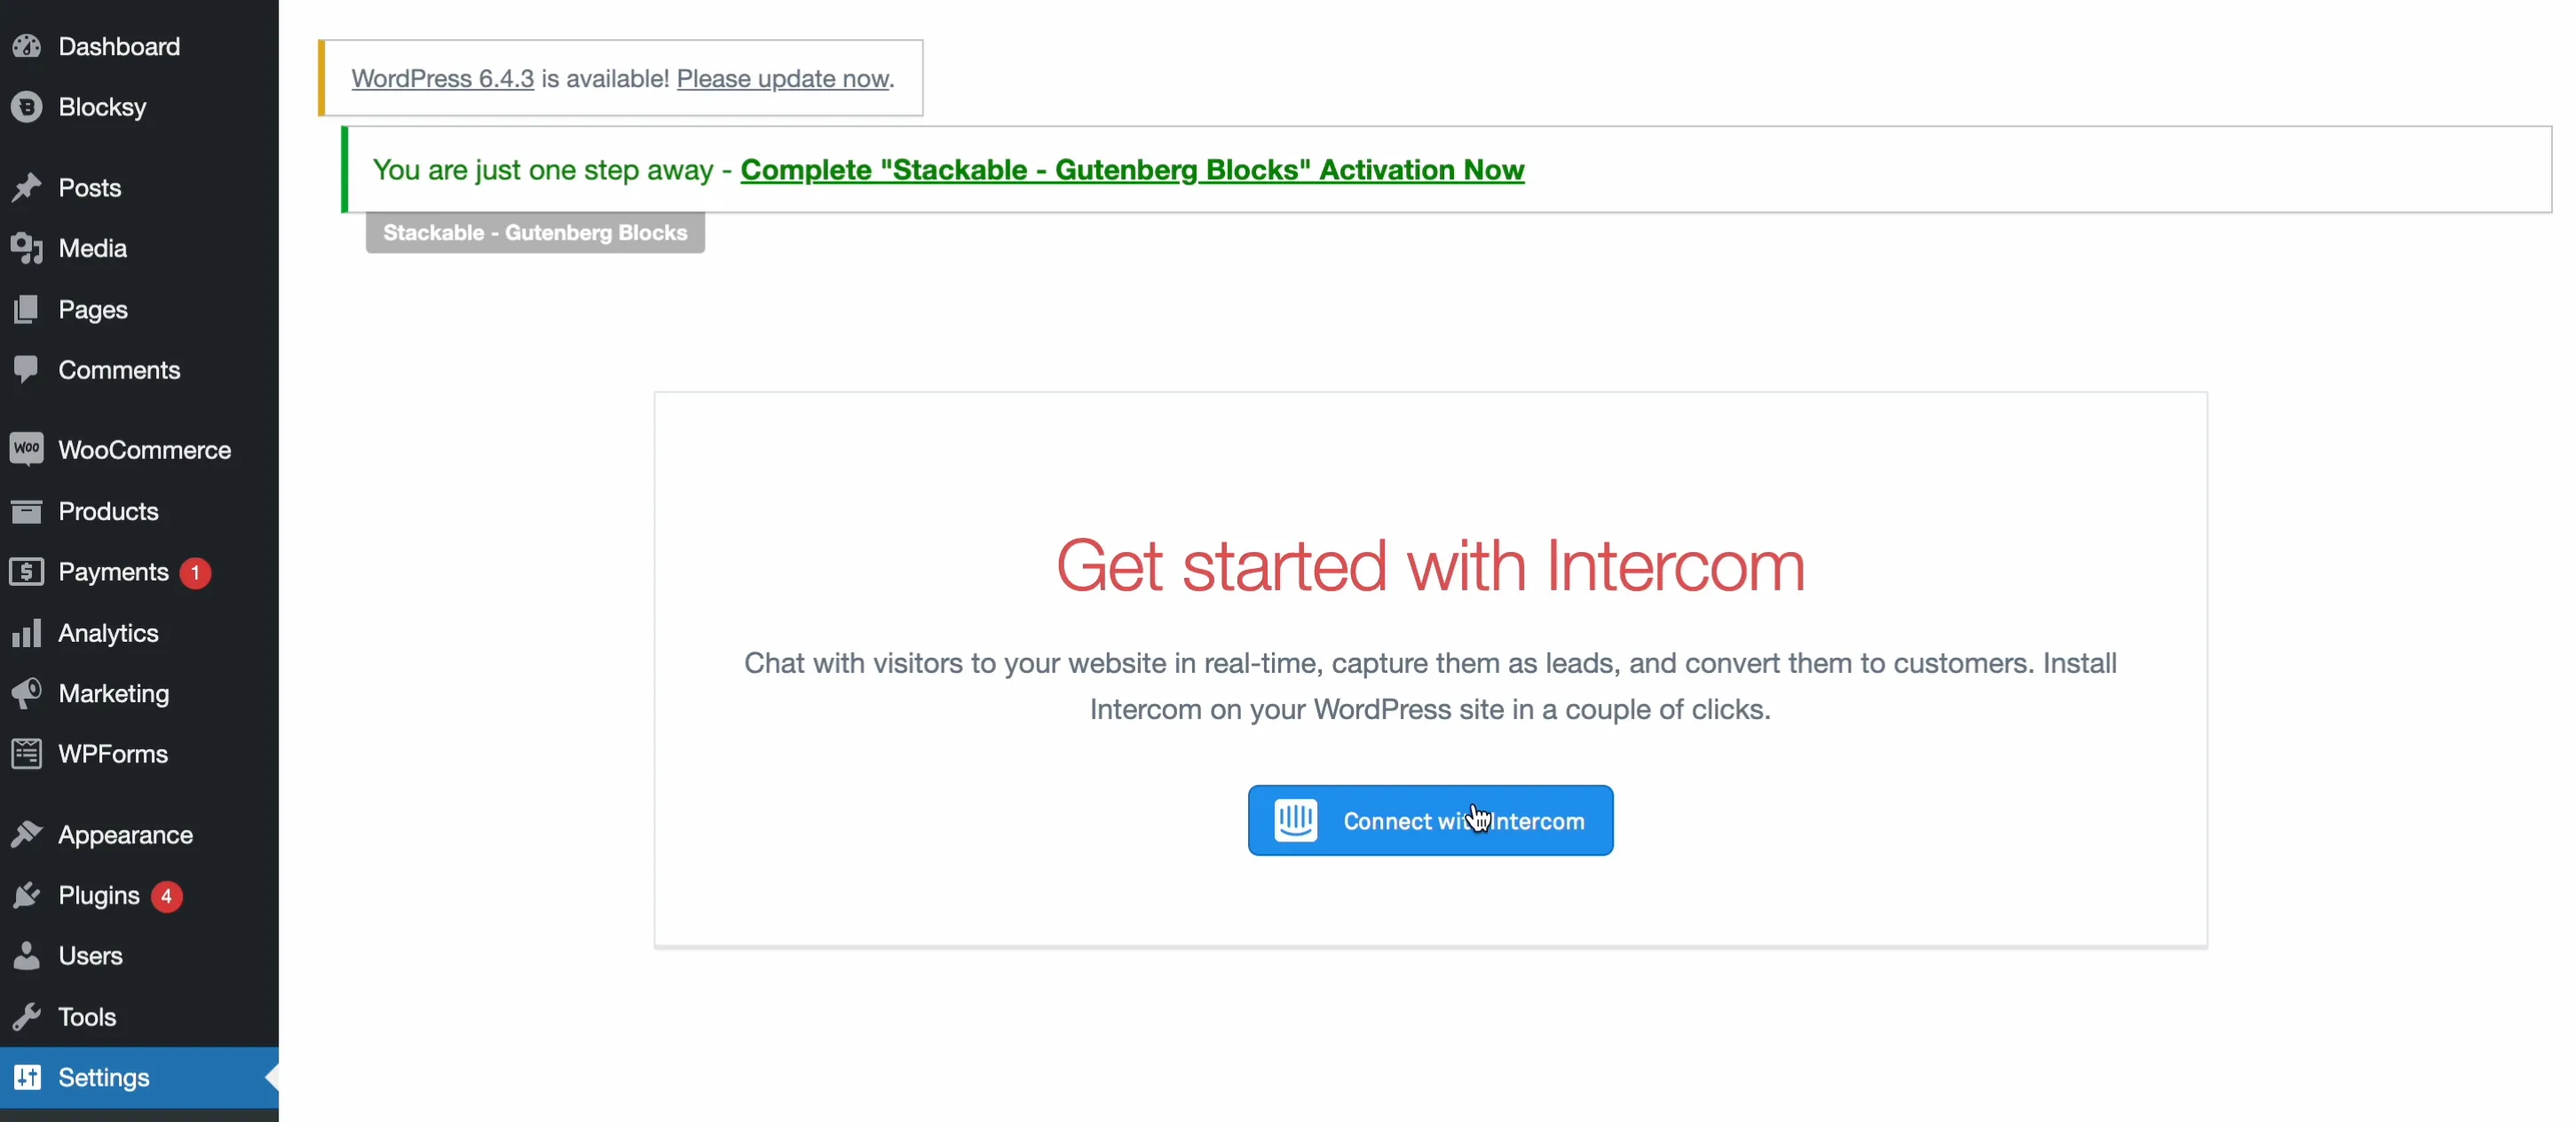
Let’s confirm that, authorize, and… That’s it — Intercom has been installed! Time for a test ride.
6. Test the Intercom - Quickchat AI integration
Intercom’s widget is now in the bottom right corner of my website, so let’s send a message to test it out.
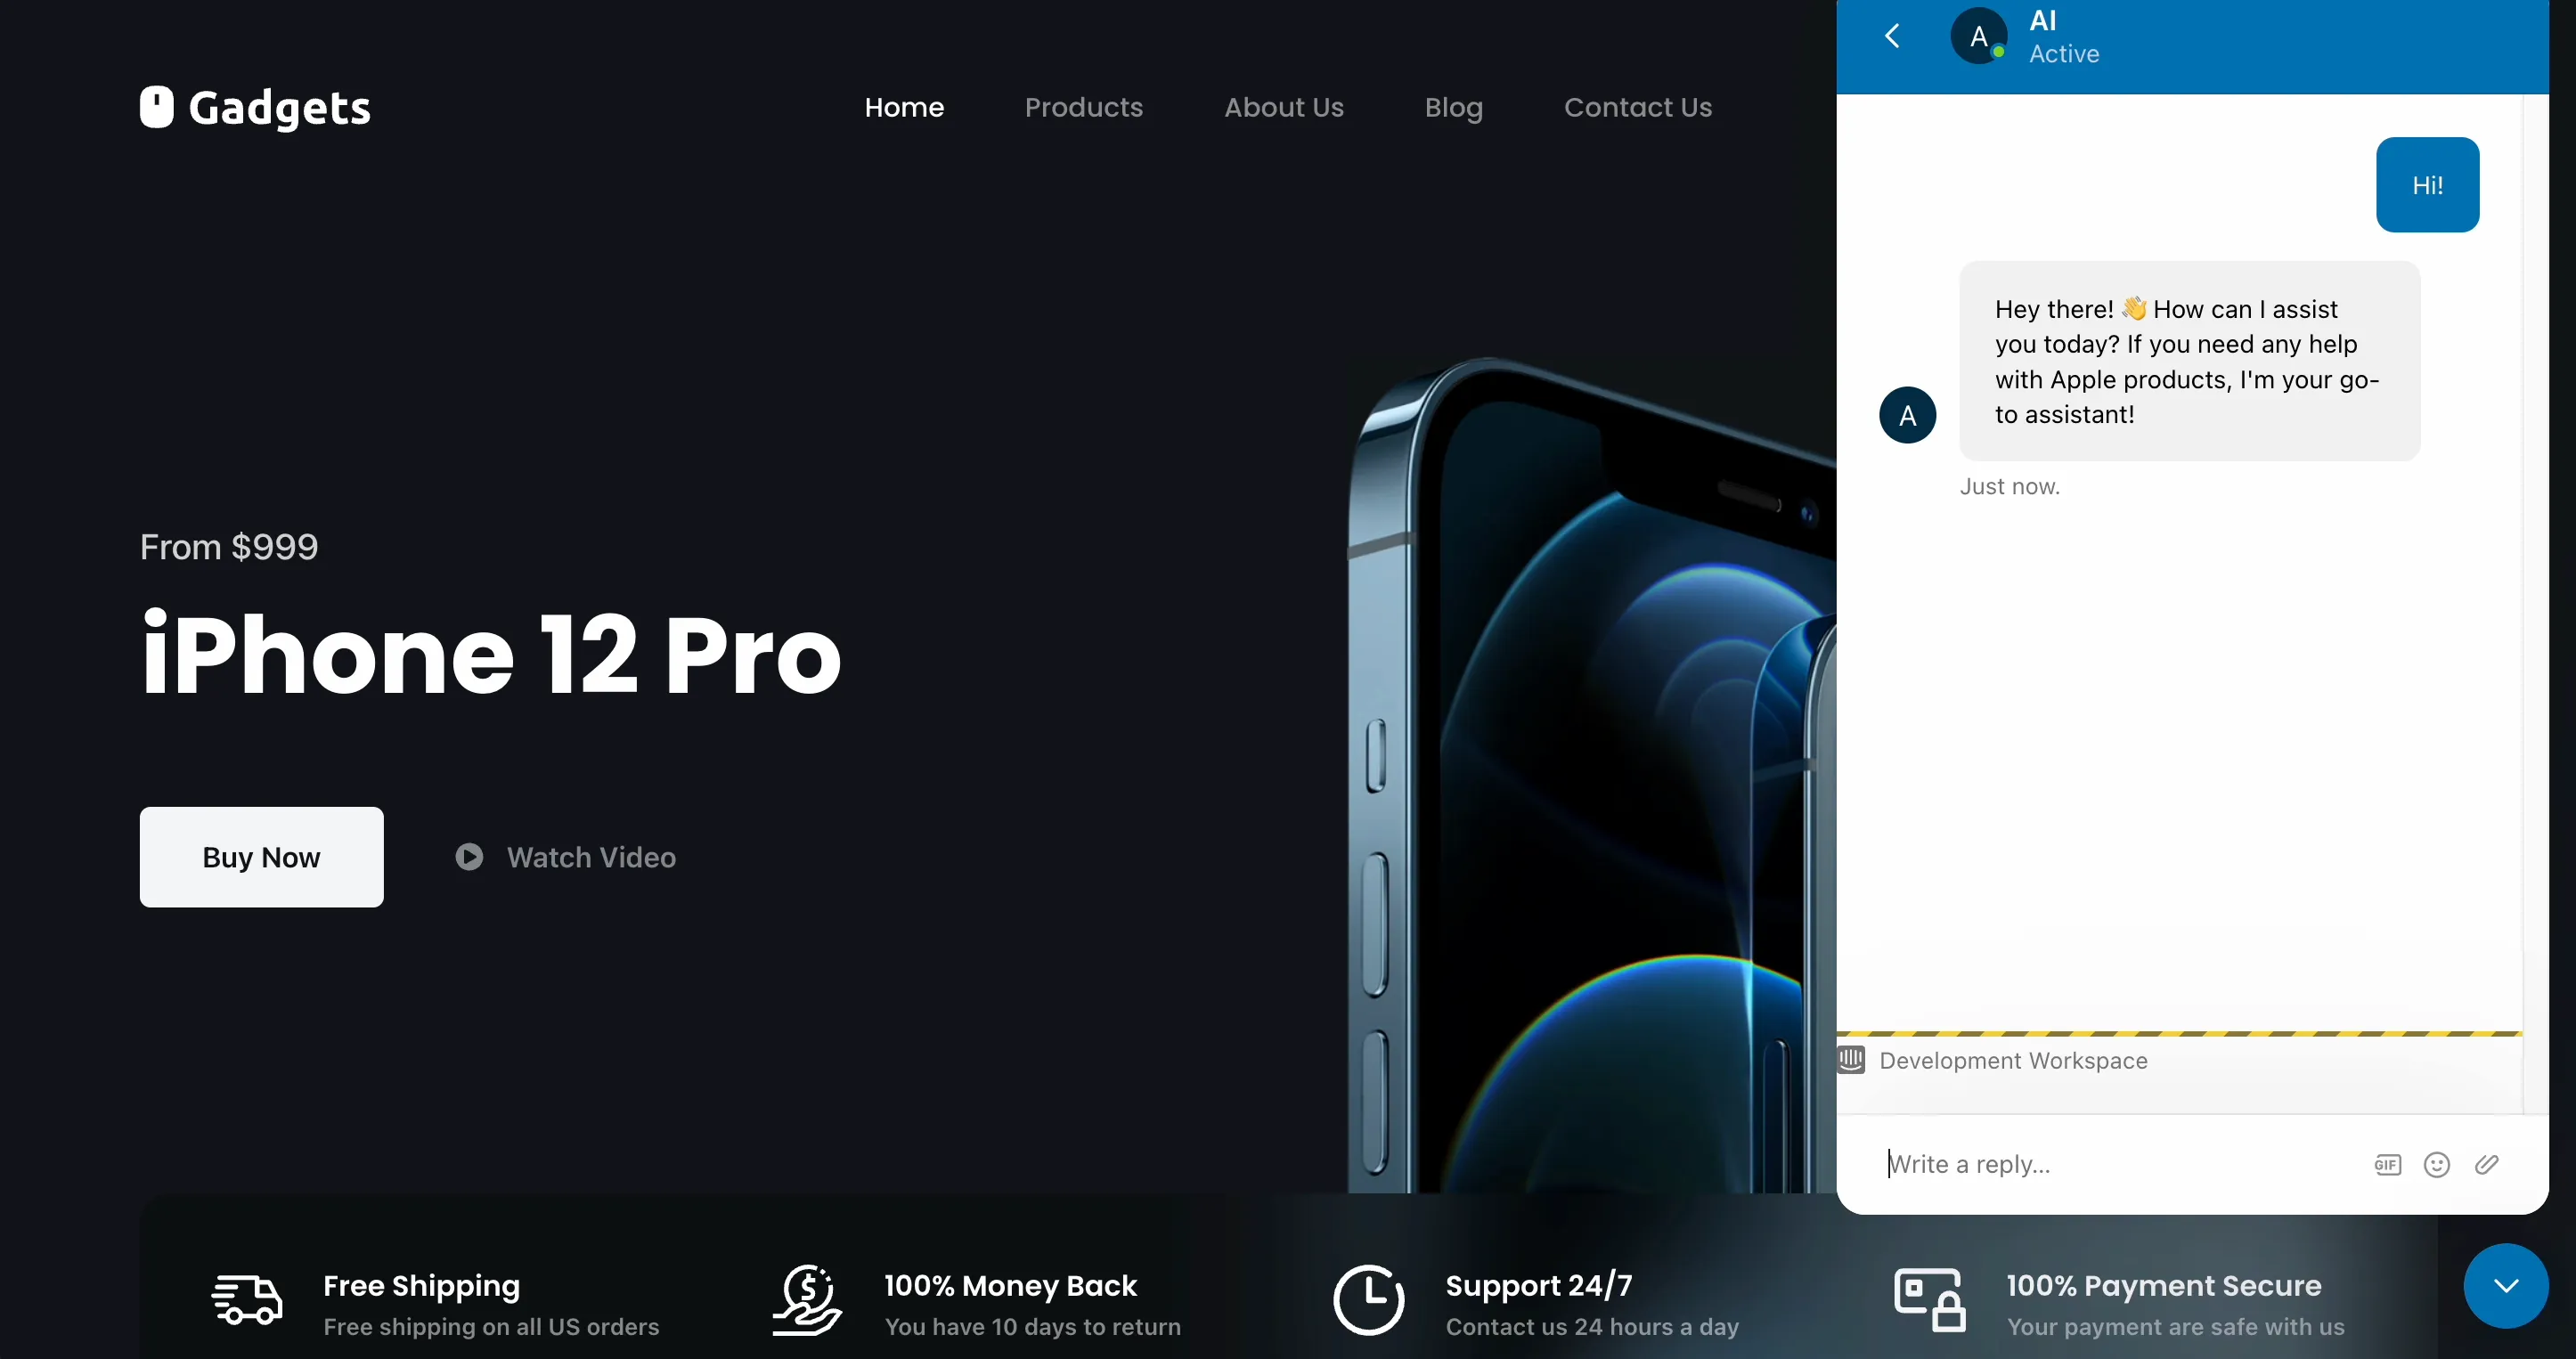
Polite greeting first of course.
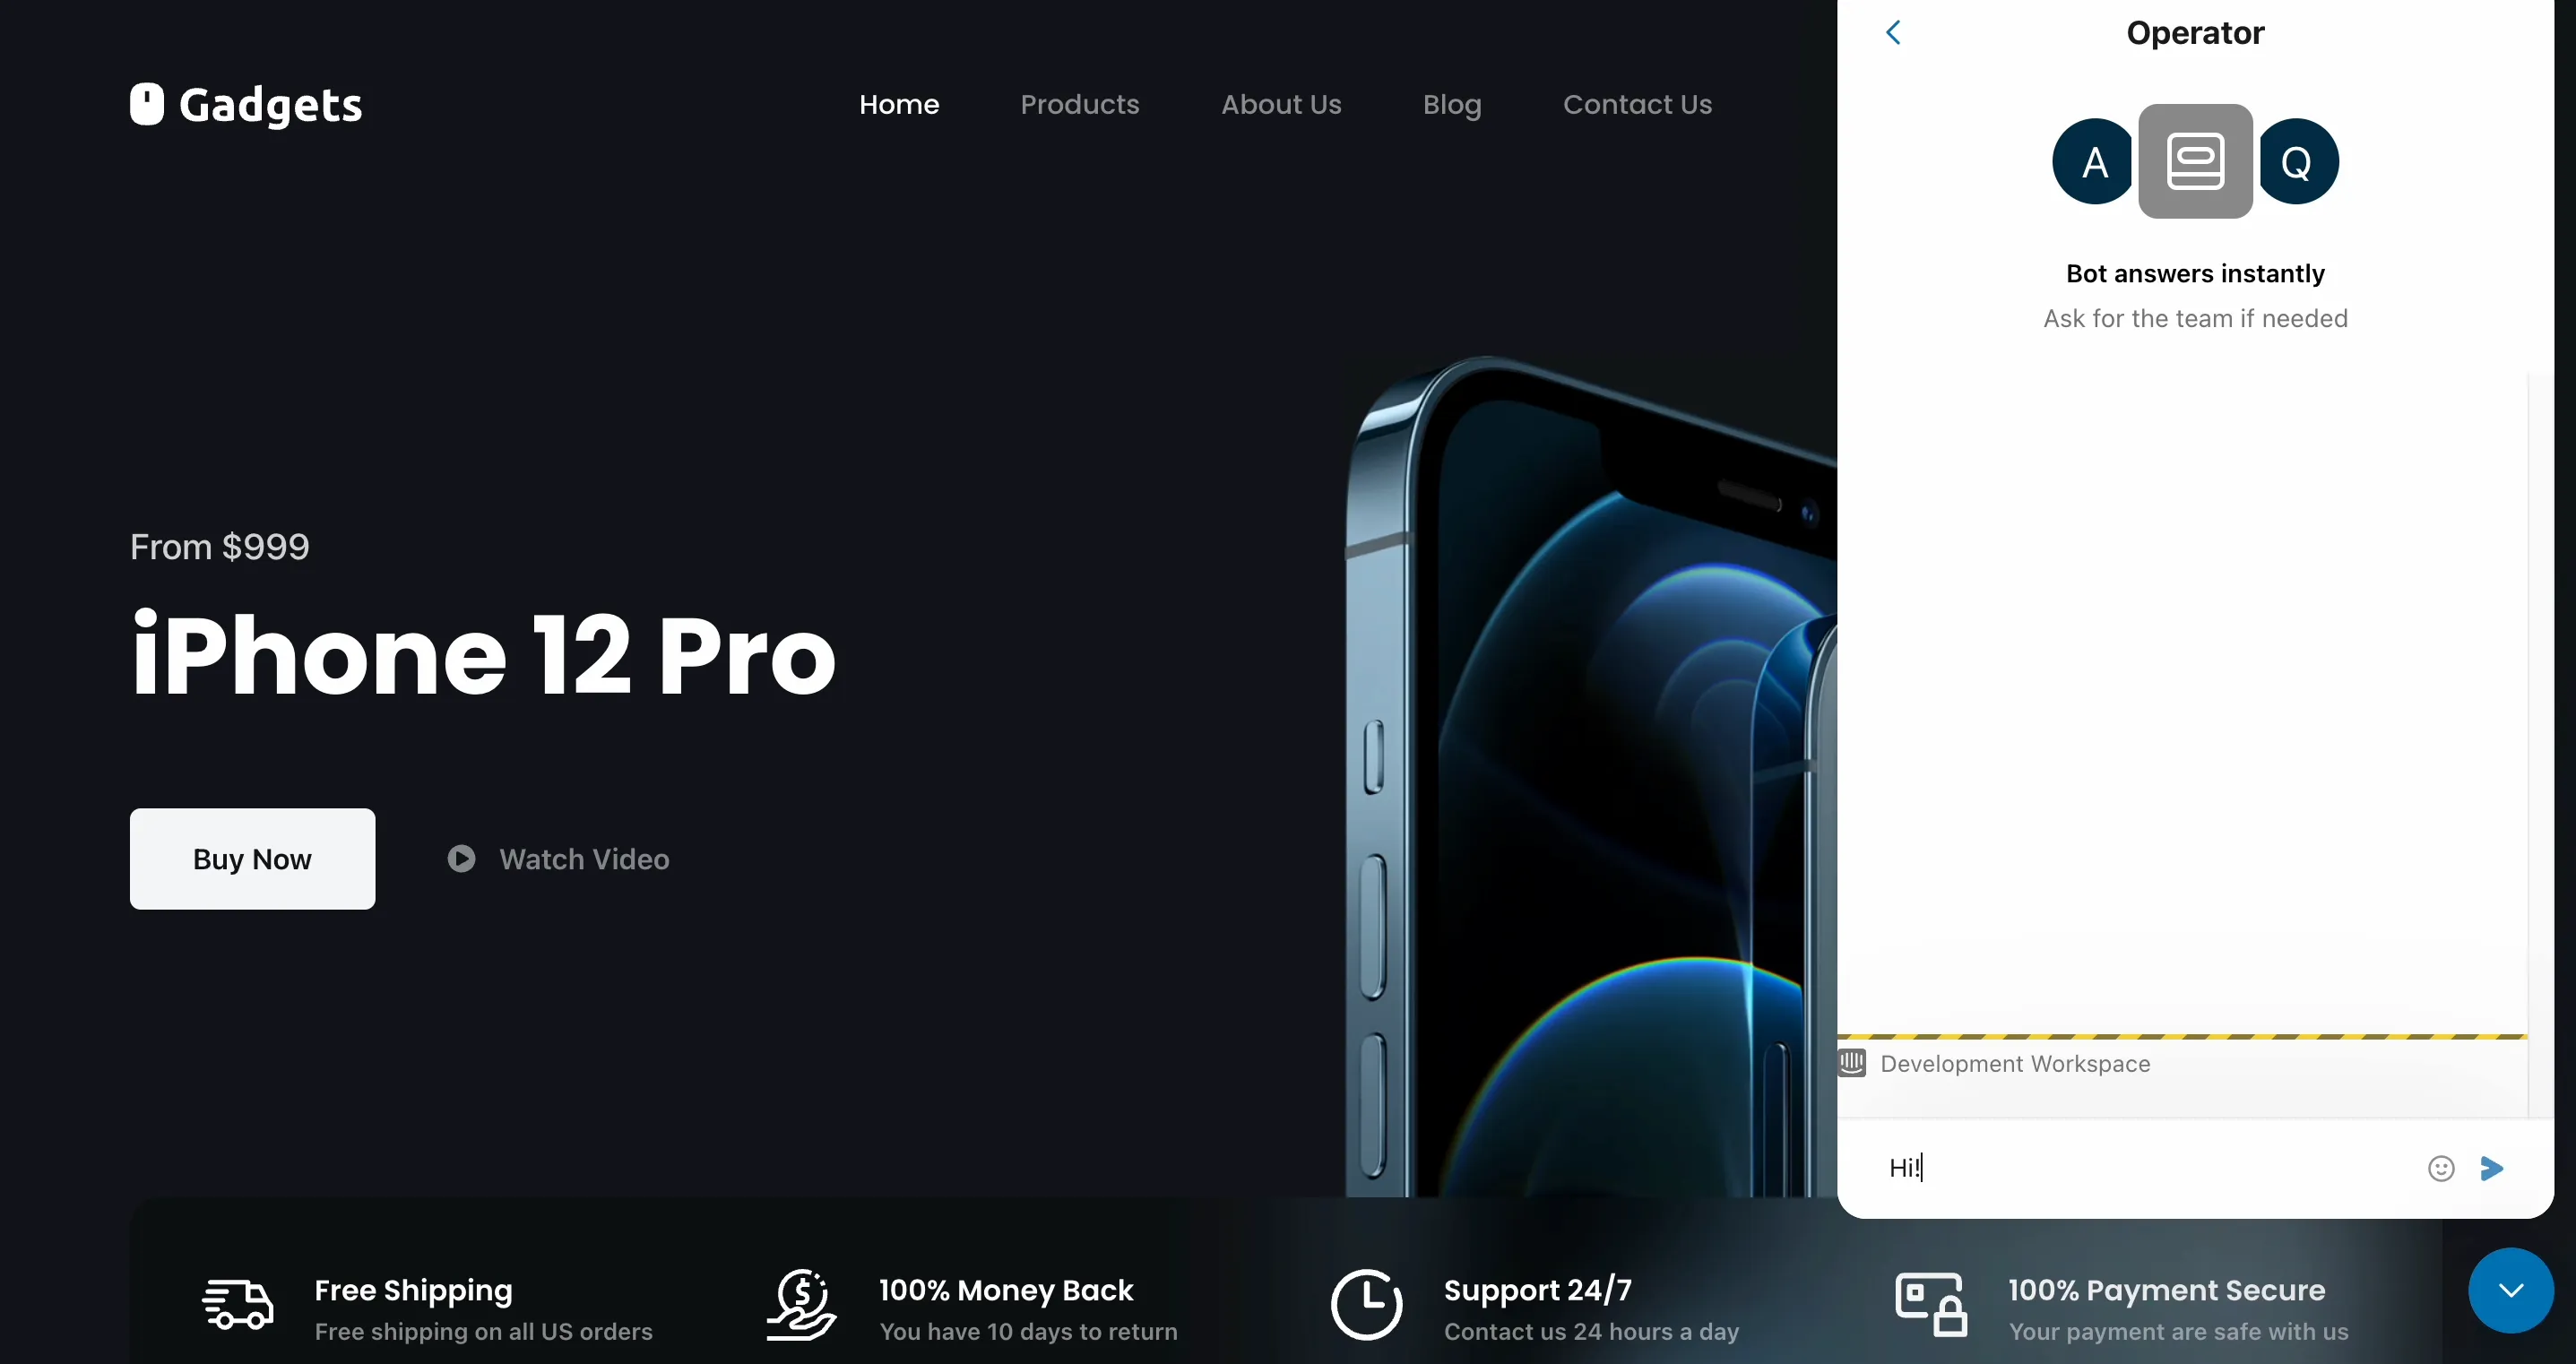
Oh, I got the answer and the chatbot references Apple products right away, so I know it’s our silicon friend.
Let’s ask it a proper question then, like:Which Mac would you recommend for a video editor?
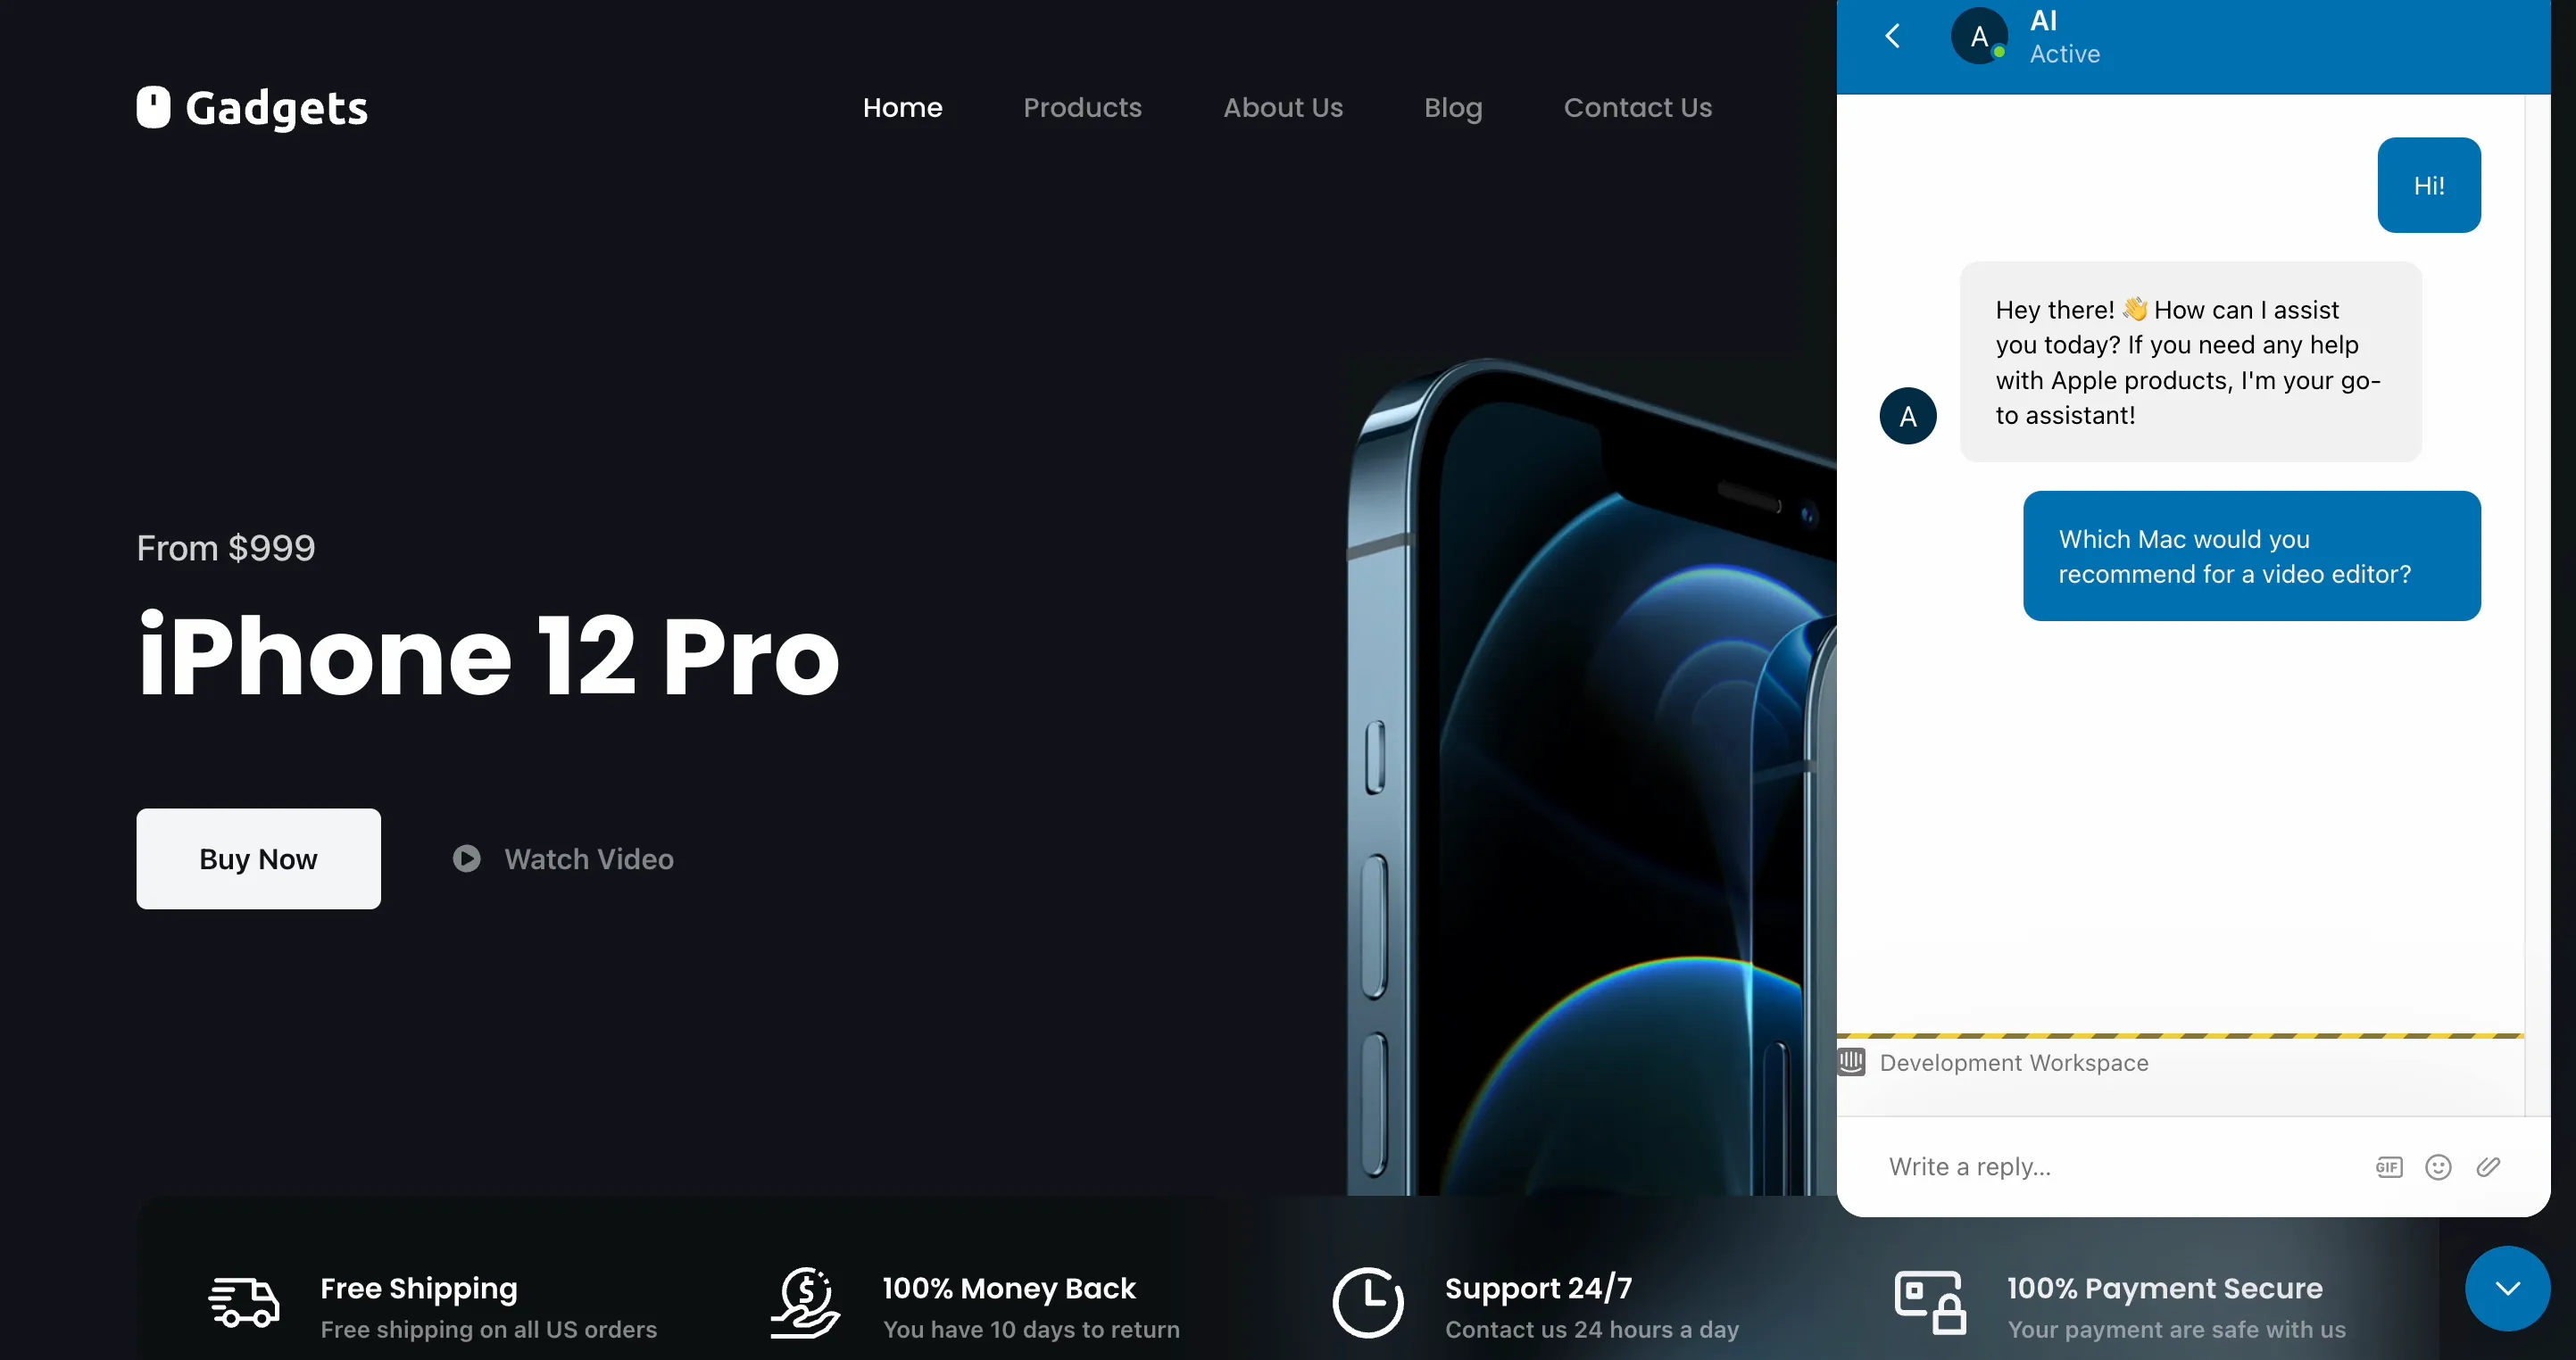
Let’s wait for a moment…
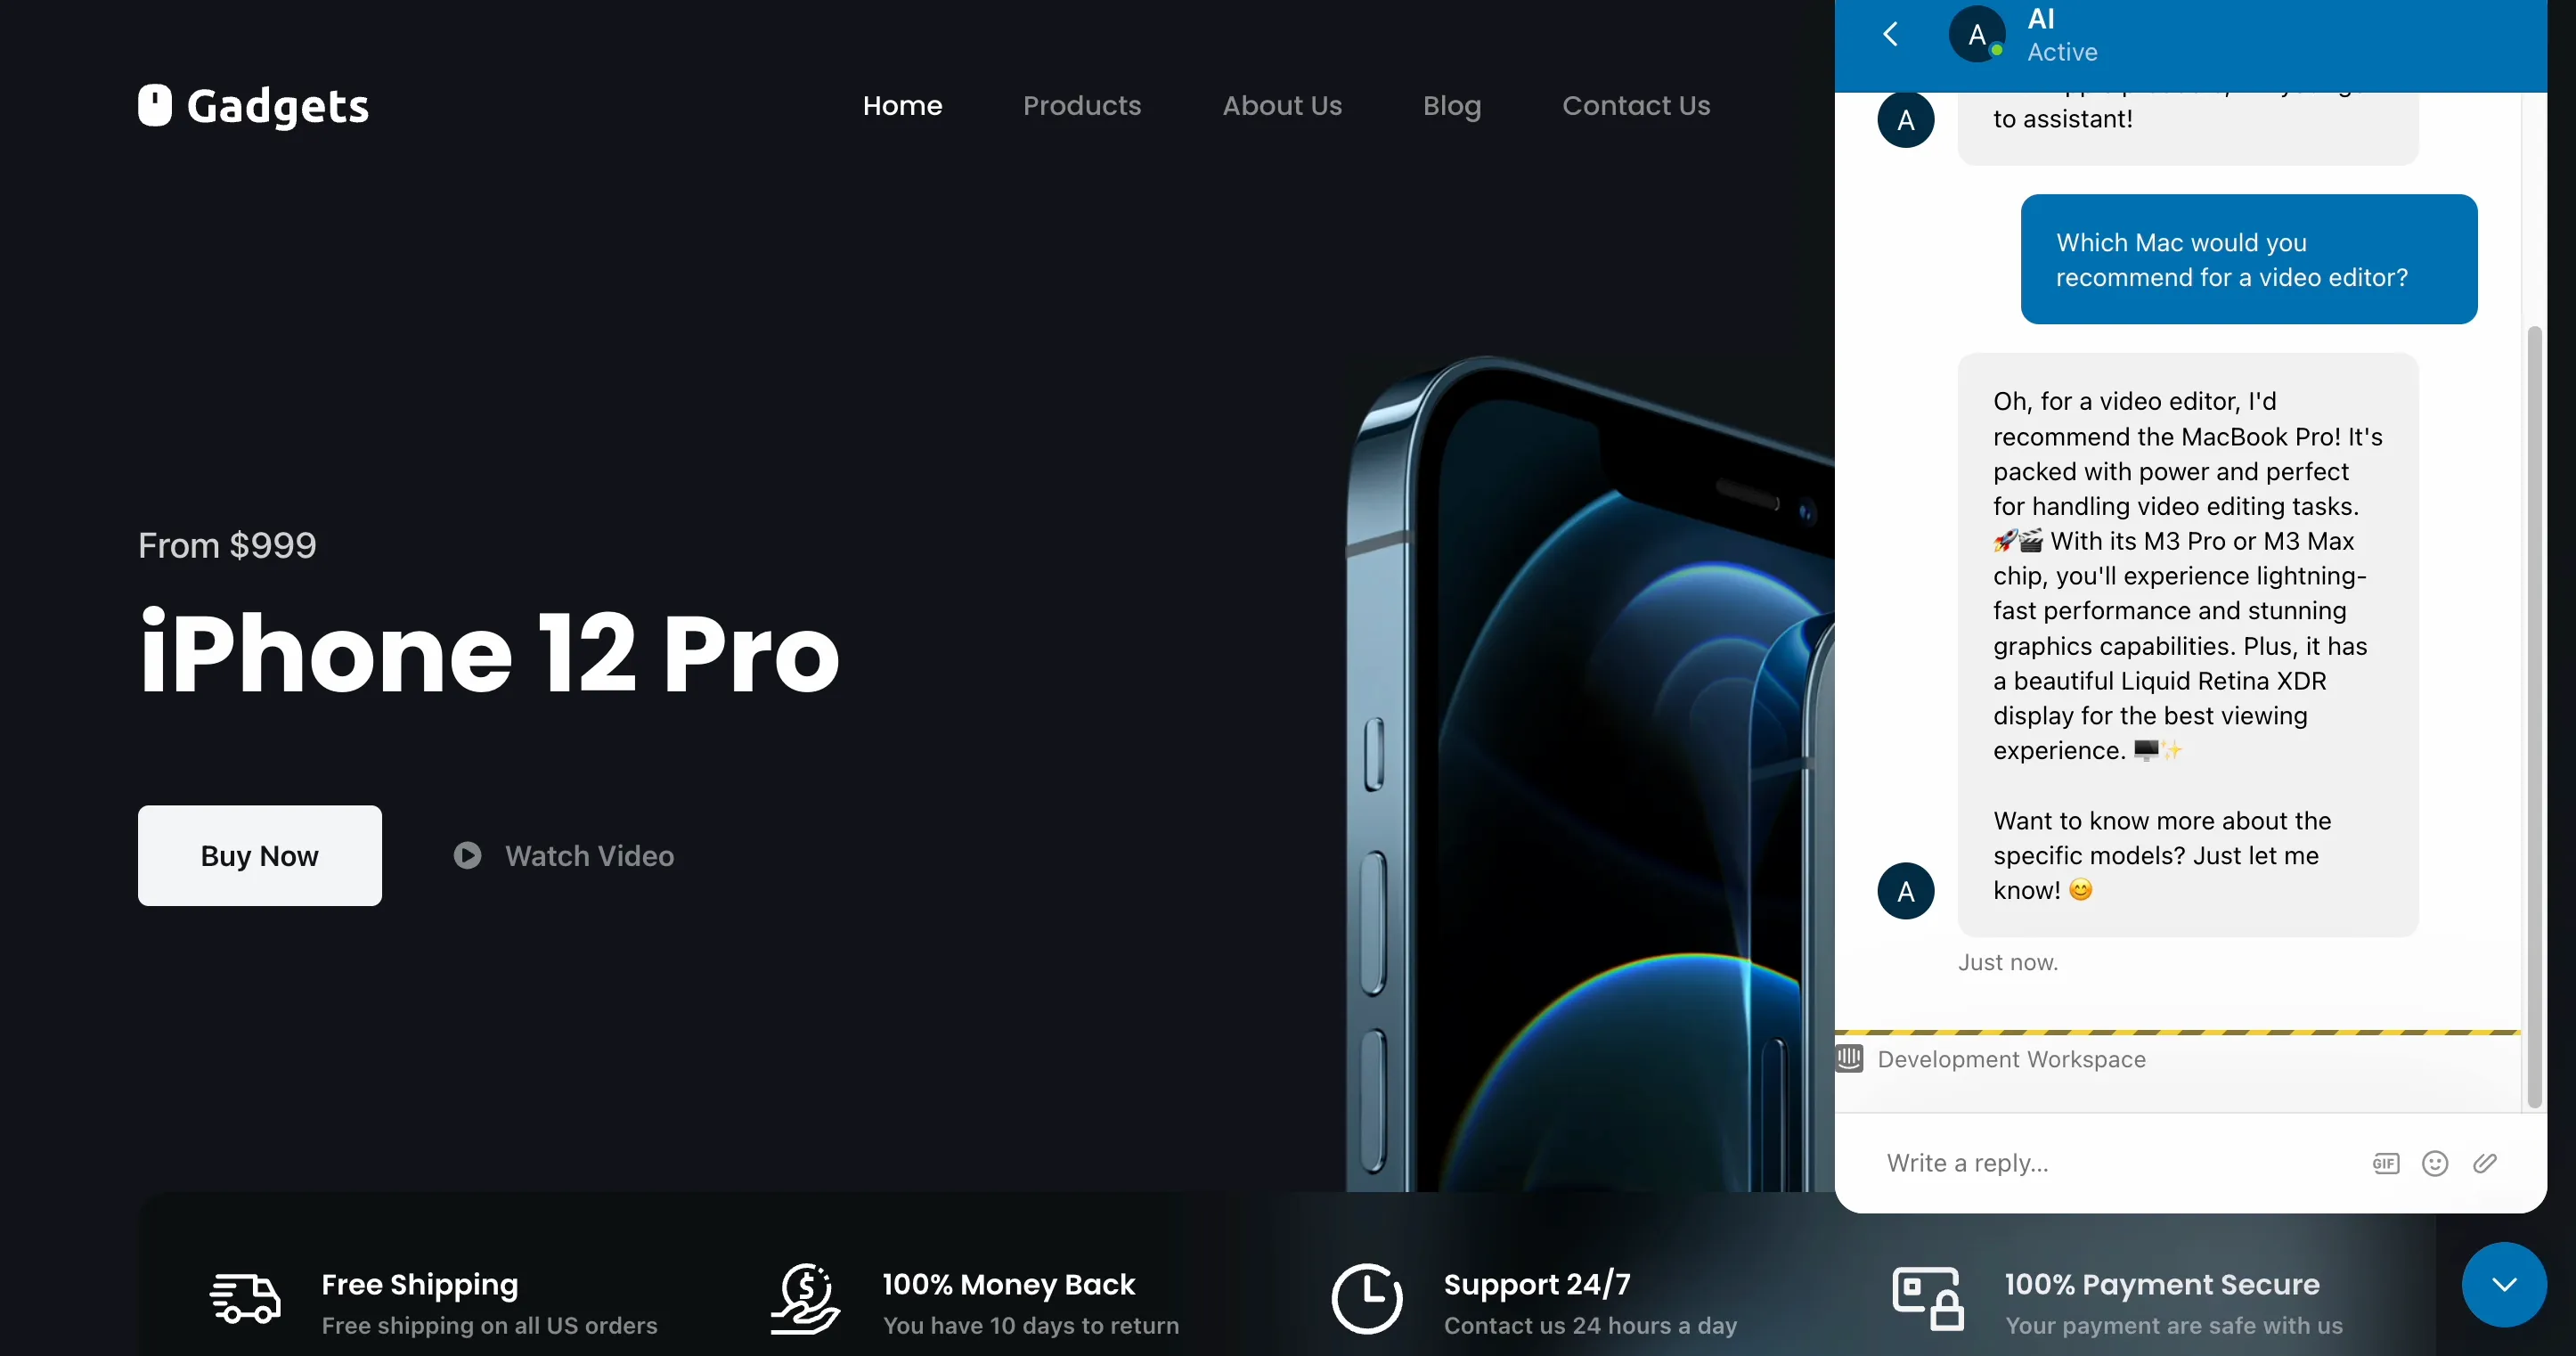
Nice, so I got a personalized recommendation for a video editor — it highlights fast performance, graphics capabilities, and a high-quality display. Plus, it also uses emojis as I requested, as well as a generally casual tone, which I like.
And that’s it!
Still wondering how long it takes to integrate Intercom? As you can see, the whole process is pretty fast and straightforward.
Setting up the Intercom integration in 6 steps
Let’s shortly recap how to integrate with Intercom and create an advanced AI Assistant:
- Add a Teammate — your new AI Agent
- Create a Workflow that assigns every new conversation to the AI Agent
- Set up a Quickchat AI account, customize the Assistant, and upload your Knowledge Base
- Integrate with Intercom in one click via Quickchat AI
- Place Intercom’s widget on the website (you can skip that part if you already have it integrated)
- Test the Intercom integration thoroughly
Check out these articles, if you want to dive deeper and learn about more advanced Quickchat AI features like automated Human Handoff, Custom Translations, Creativity level, and many more.
Or, why not start a free trial and discover Quickchat AI yourself?

