What is Quickchat AI?
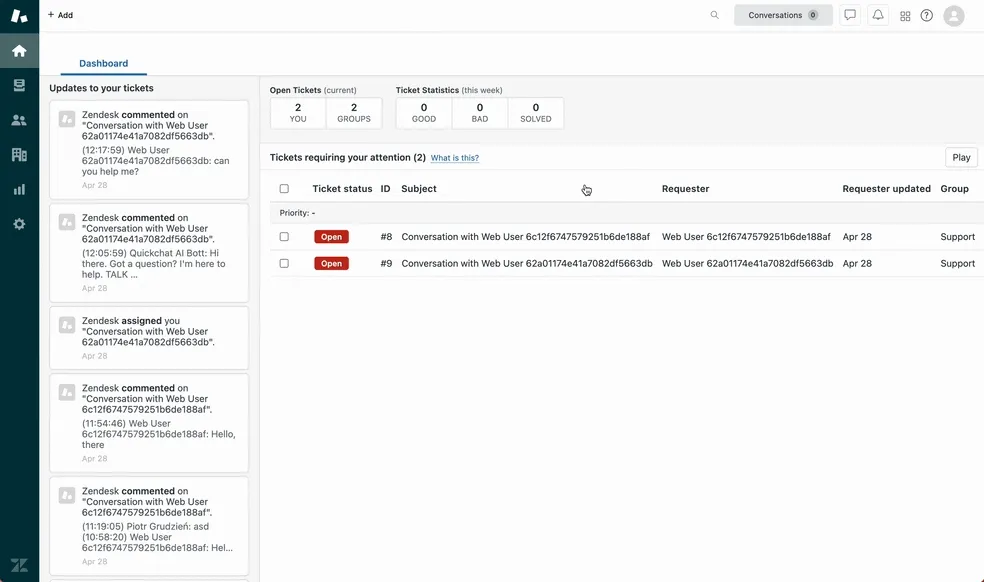
Quickchat AI, a platform designed for building fully customized and multilingual AI Agents powered by state-of-art models, now brings its impressive capabilities to Zendesk Messaging. With Quickchat AI, you can develop a ChatGPT- or GPT-4-based AI Agent tailored to your company branding and designed with the exactknowledge you need to support customers’ inquiries seamlessly.
Integrating the Quickchat AI Agent with Zendesk Messaging is a powerful customer service tool that enables businesses to interact with their customers by providing instant support, and build customer relationships, providing automated responses to customer queries and streamlining your customer support processes.
How do I start?
Set up your Quickchat AI:
- Go to https://app.quickchat.ai, create an account and purchase the Quickchat subscription (there is a 2-week trial for just $14)
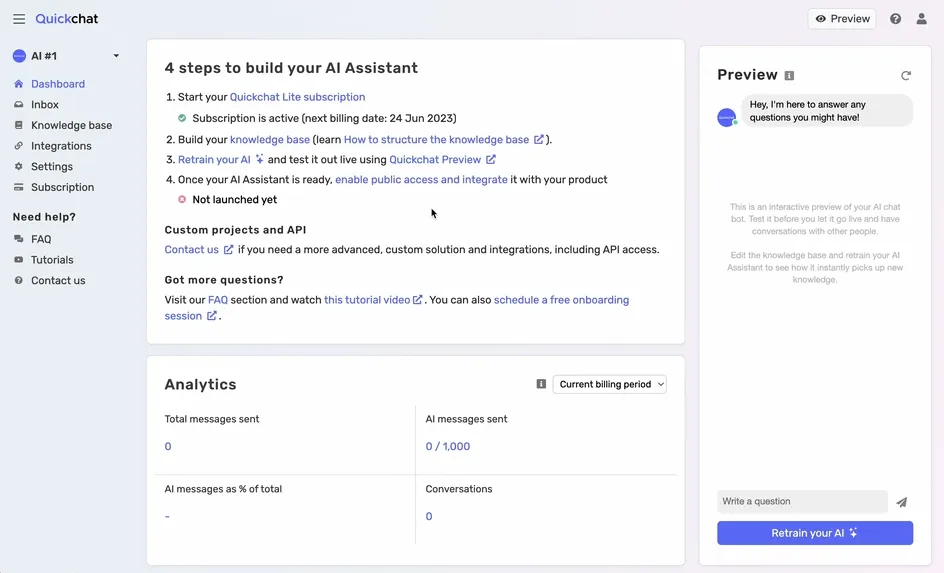
- Build your Knowledge Base (what do you want your AI to know?)
- Test it using the Preview window
In your Zendesk Account:
- (Required) Your Zendesk account must be on the Professional plan or higher.
- (Required) Your Zendesk account must be using Zendesk Messaging , read more
- Navigate to the Admin Center and in the Apps and integrations section, go to the API > Conversations API
- Create API key button and insert name: quickchat-ai-api-key
- App ID , Key ID and Secret key should appear. Copy them to a safe place.
 Zendesk: creating Conversations API key
Back to the Quickchat dashboard:
- Navigate to the Integrations tab and click on Zendesk
- In the pop-up window, paste App ID , Key ID and Secret key from the previous step and click on the Authenticate with Zendesk button.
- You will see the “Your Quickchat account is successfully connected to your Zendesk account” message and more settings will appear.
 Enabling the integration
How do I get the Quickchat AI Agent to respond in Zendesk?
There are two possible ways of using Quickchat AI with Zendesk
1. Make Quickchat always respond to all newly created conversations
In the Quickchat dashboard:
- Navigate to the Integrations tab and click on Zendesk.
- In the pop-up window, switch Respond to all new Zendesk conversations to ON.
- Switch Activate Integration to ON.
The integration is now ready! 🎉 Your Quickchat AI Agent will now be the default integration and respond to ALL incoming messages in your Zendesk account.
2. (Advanced) Make Quickchat Assistant respond only in particular cases rather than always
More advanced users might want to transfer the conversation over to Quickchat AI only under certain conditions. Here is how to achieve that using the Zendesk Answer Bot:
In your Quickchat dashboard:
- Navigate to the Integrations tab and click on Zendesk.
- In the pop-up window, switch the Respond to all new Zendesk conversations to OFF.
- Copy your generated Quickchat Tag (should look something like: quickchatai-bot-asd3f23pk1). It will be used in the next step.
- Switch the Activate Integration to ON.
In your Zendesk Account:
- Navigate to the Admin Center and in the Channels section go to the Bots and automation > Bots.
- Click on the Create bot button and give your bot any name you like.
- Create a new answer or start editing an existing one.
- In the Flow Builder add a Transfer to agent step.
- Enter bot message that will be diplayed right before the conversation is transferred to Quickchat AI.
- Add your personal Quickchat Tag (from step 3. earlier) into the Tags section.
- Save your changes and publish the bot.
Now, when the Zendesk Answer Bot reaches the Transfer to agent step with your Quickchat Tag tag, the conversation will be transferred to Quickchat AI.
(Advanced) How do I use the Automated Human Handoff feature?
Quickchat AI is a powerful tool that can help you automate your customer support. However, sometimes it is necessary to transfer the conversation to a Human Agent for further help. Quickchat AI can help you with that too!
- In your Quickchat dashboard:
- Activate Human handoff in the Subscription tab.
- Navigate to the Integrations tab and click on Zendesk.
- In the pop-up window, switch the Automated Human handoff to ON.
- Now, when Quickchat AI automatically detects that the conversation should be handed off to a Human Agent, it will add the following tag to the conversation: quickchatai-handoff and stop responding.
- You are now able to create a Zendesk trigger that will be triggered when the quickchatai-handoff tag is added to the conversation. You can use this trigger to send a notification to your agents or to automatically assign the conversation to a specific agent.
Additional settings
Quickchat AI’s diverse range of additional features is designed to offer a genuinely customized and efficient user experience, perfectly catering to your company’s distinctive needs.
Benefit from adjustable reply length settings to provide concise or more detailed responses, based on your preferred communication style. Try out the AI creativity levels to strike the perfect balance between innovative ideas and practical suggestions, aligning with your company’s tastes and aspirations.
These powerful customization options, paired with Quickchat AI’s core functions, result in a finely-tuned Conversational AI experience that elevates your customer interactions and sets your brand apart from the competition.
Even more features
If your business requires more custom features, you can contact us at contact@quickchat.ai to provide you with a custom solution tailored to your needs.
Congratulations! 🎉
Your Zendesk integration is now set up, enriching your business with a powerful AI Agent geared to enhance your customer service and boost customer satisfaction.

